

The Telemark Ski Mountaineer: tips, tricks, and discussion points
Share this Post
In the year 2021, it would seem that telemark and mountaineering are now mutually exclusive concepts. With far superior technology and weight saving advantages within the alpine touring sector of backcountry skiing, there is almost no reason to be a ski mountaineer on telemark equipment. Yet alas, the years go by, and I myself am still here: a “modern dinosaur” (as my guided ski clients have referred to me) continuing to take my rat traps into the outer reaches of the off-piste experience.
When I started backcountry skiing in 2006, free heeling was still a valuable and legitimate tool in the high mountains. Four buckle Dynafit compatible boots were in their infancy, and the available alpine touring bindings that weighed durability versus performance versus ski-ability were still unaware of exactly what they wanted to accomplish. Elegant, sleek, simple, and time-tested, telemark knew exactly what it wanted to be. It just so happened that telemark equipment was also readily available on the used gear market, making it almost the only option for my 16-year-old self making $7 an hour picking vegetables at a local farm. Therefore, here I am, 15 years later and skiing the steeps on a pair of bindings that were essentially invented in 1912.
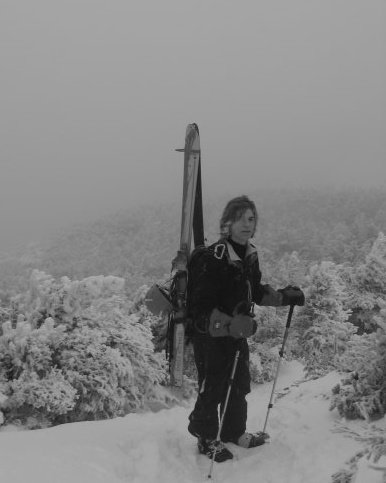
Photo circa 2007 with my Voilé three-pin bindings on Lafayette Peak, NH. (1970s hairstyles pair well with fringe snow sports).
As easy as it is for me to justify my continuation of telemark skiing by the hippie-dippy “free the heel and the mind will follow” rhetoric, one of the main reasons I continue to telemark is for the health of my body. Before I reached the ripe old age of 23, I had endured five knee surgeries. Three ACL reconstructions, as well as multiple meniscus scopes and repairs, spanned those five years. From the time I was 16-23, I was still alpine skiing at the resort and used my freeheel equipment in the backcountry. After fully committing to telemark skiing in 2013, my knees and back have never felt younger or stronger.
I know many folks would disagree with me on this subject, but I am ready to fight to the grave on the stance that the telemark turn is better and more anatomically suited for the human body. It is also an excellent way to prolong your skiing career. I invite you to shoot me an email if you would like to engage in the age-old argument and tell me something different – tyguarino@gmail.com or www.telemarkty.com
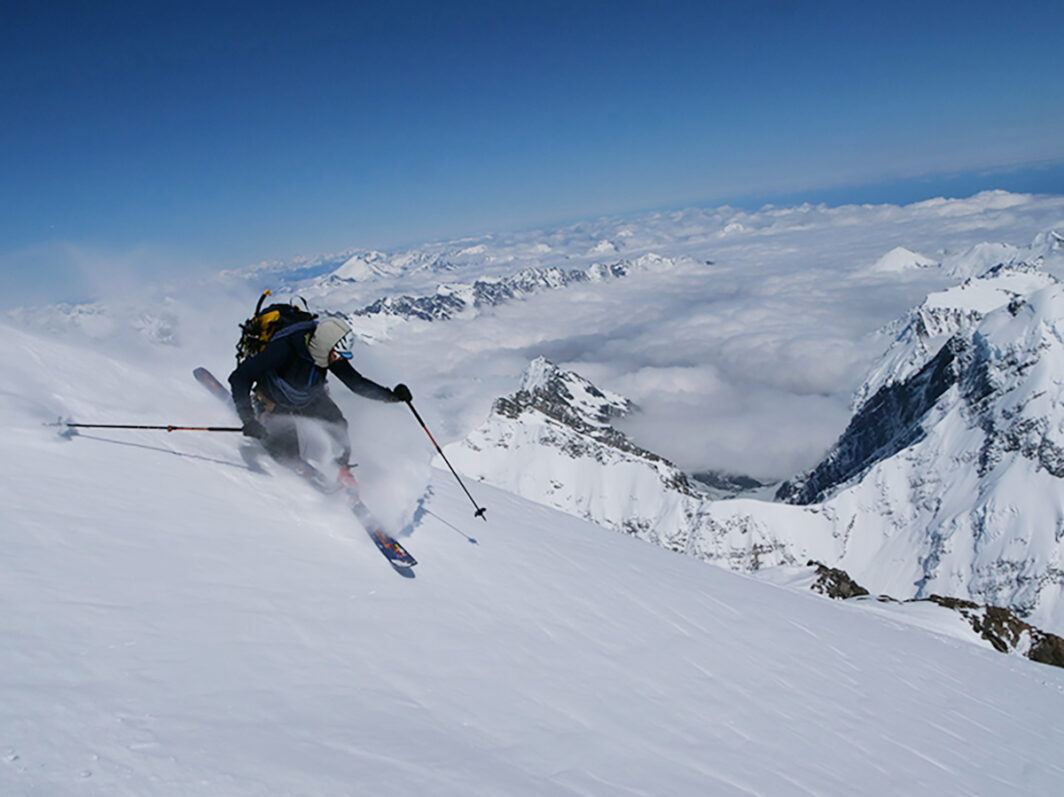
So, for those of you like me who still can’t kick the telemark habit, I want to share some tips and spark discussions on how to efficiently move through the mountains on telemark gear and leave your weight-conscious dynafit-dork friends in the dust. Below are some important topics and principles that I have lived and skied by for the last 15 years. These tips, from trial and error, are the unique concepts that define the TSM (telemark ski mountaineer)!!!
Telemark Ski Mountaineer Principle 1:
skis, boots, and binding flex need to all work in conjunction to suit your personal skiing style.
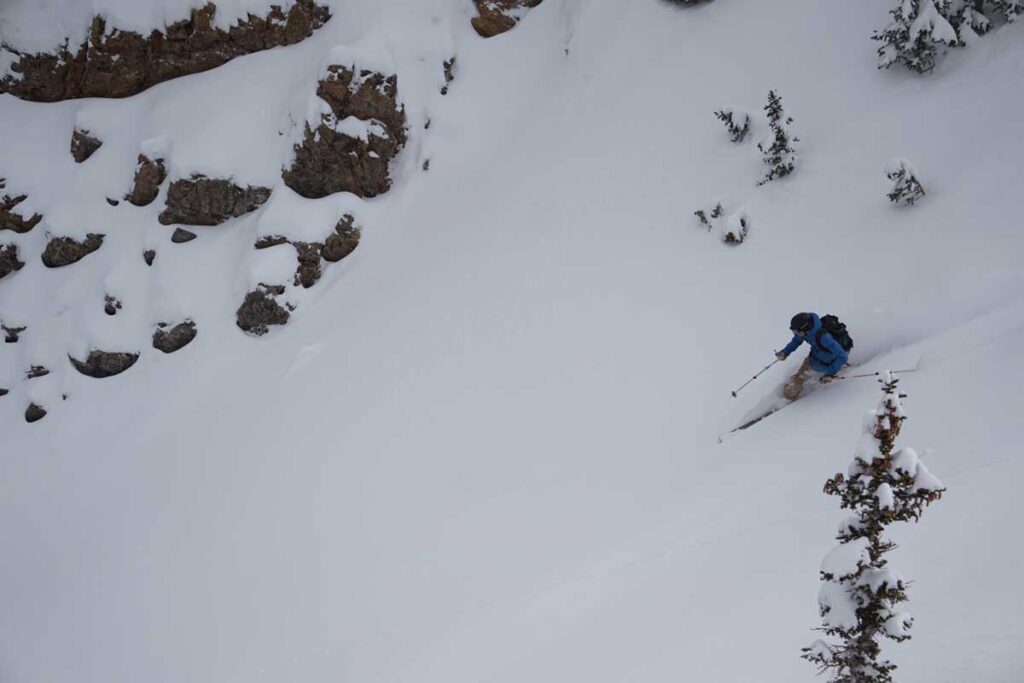
If you want to ski in steep ski-mountaineering terrain, I would say that you need to have multiple types of ski turns: Most important would be the low, knee-to-ski, hop turn. Because of this, you need to be able to get your hips around on each turn while also keeping your shoulders (mostly) perpendicular to the fall line. The only way to effectively do this is to ski on a soft spring cartridge/neutral flex setting.
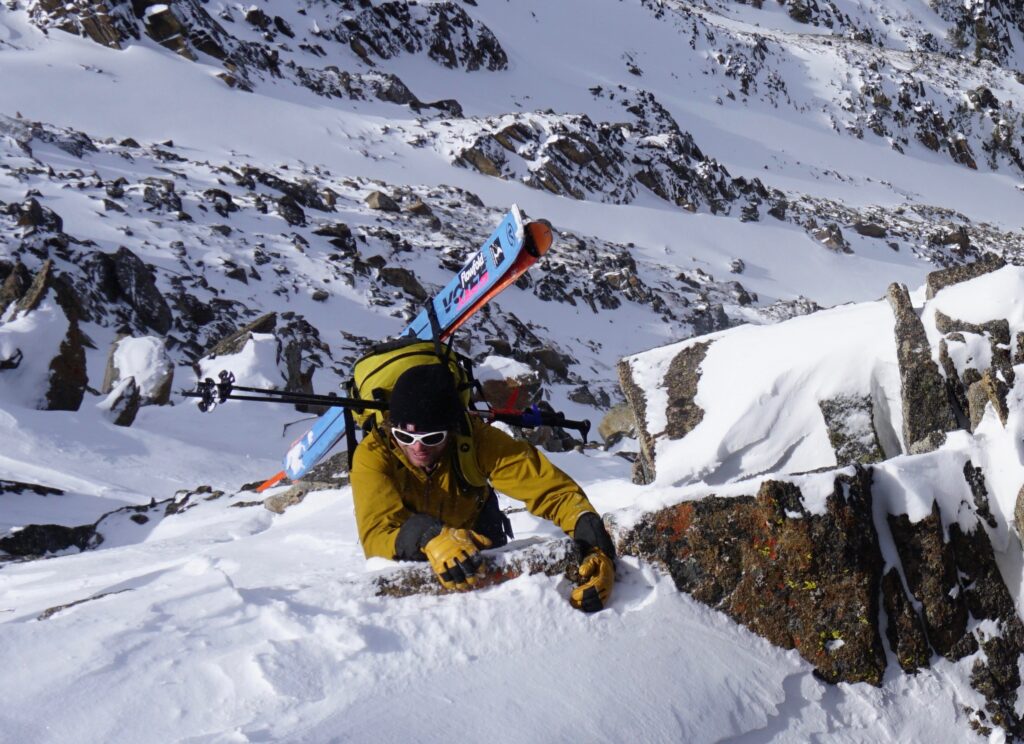
I am 5’10, about 163 lbs, and ski pretty low. One of my all-time favorite ski mountaineering rigs is pictured here:
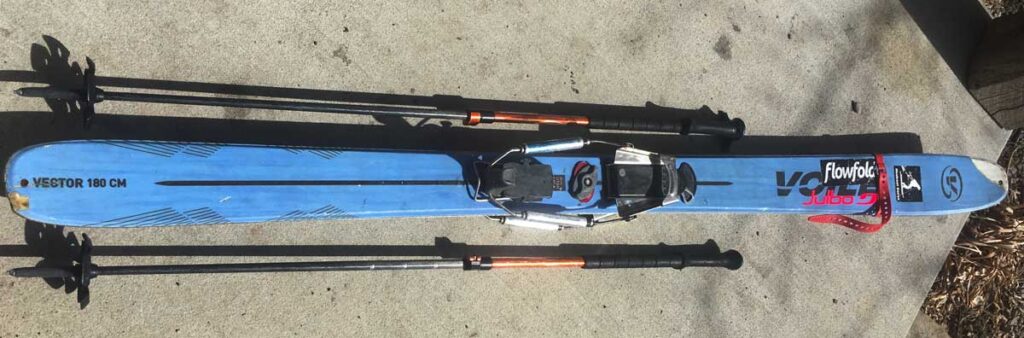
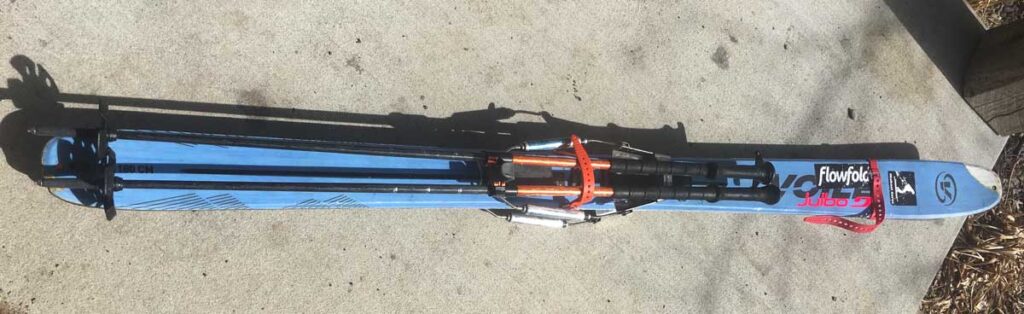
- Skis: 180cm Vectors
- Bindings: Switchback X2 bindings toe plates, with the softer blue springs pulled off the 3-pin hardwire binding. I only mount one climbing bar setting on my heel risers for simplicity and ease of use.
- Ski Crampons: A ski crampon disk is mounted underfoot for fool-proof purchase in firm conditions.
*** You may be able to see the tip and tail holes drilled to accommodate the use of some lightweight forms of rescue sleds as well…
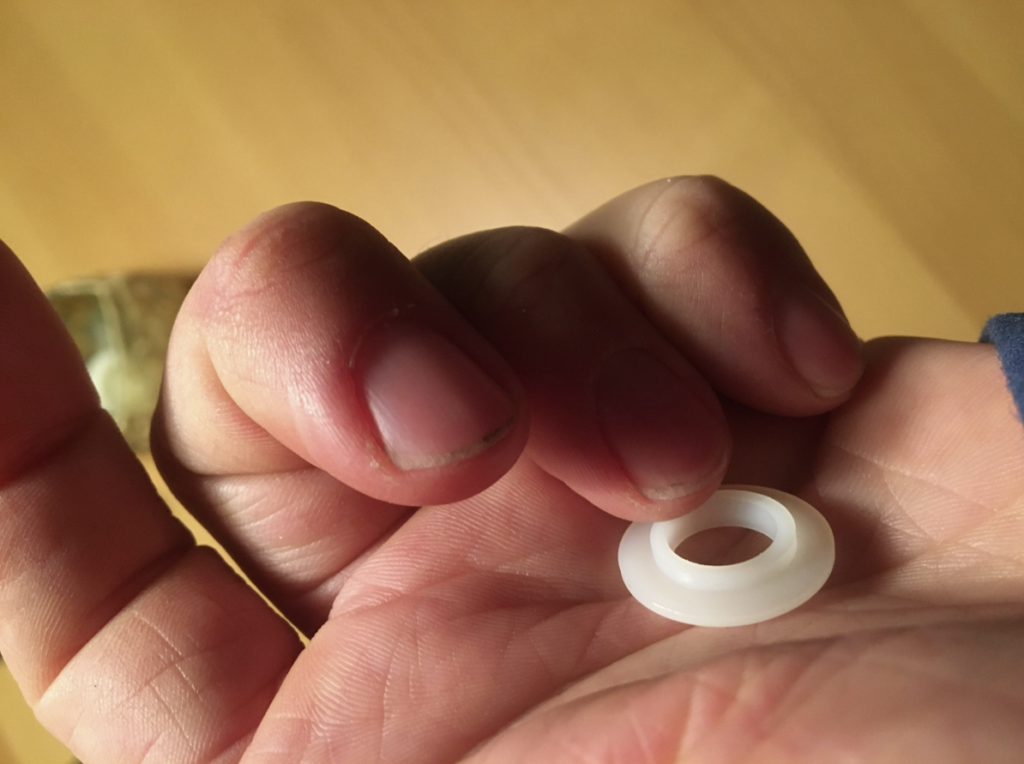
Discussion: The Switchback X2 has a free pivot touring mode and a longer toe box wing which moves the cartridge flex point a few centimeters aft of most other 75mm cable bindings (slightly more ‘active’ than the Switchback). This engages your bellows sooner, improves boot-to-binding sensitivity, and still retains a soft flex by using the blue springs. Blue or red Voilé cartridge springs are 25% softer than the black ones that the binding actually comes with, and can be bought individually.
To make your kit even lighter, you can even substitute the compression cartridges with the side-throw expansion springs that come standard on the Traverse binding (or just use the whole Traverse binding)
***The X2 has been an upgrade for me in the last four years. I used the Voilé 3-pin hardwire binding almost exclusively for about 10 years previously since it has close to free pivot touring mode, engages bellows relatively early for a cable binding, and has a near bulletproof construction
I ski this setup with either a T2, T1, or T Race 75mm boot. I tend to have a Scarpa shaped foot, so these are essentially my three options. It depends on my objective, but most of all of my serious ski descents (including multiple AK expeditions and every descent in the Tetons) have been on either T1 or T Race. The added control with the 4 buckles and stiff cuff are compromises in weight worth making.
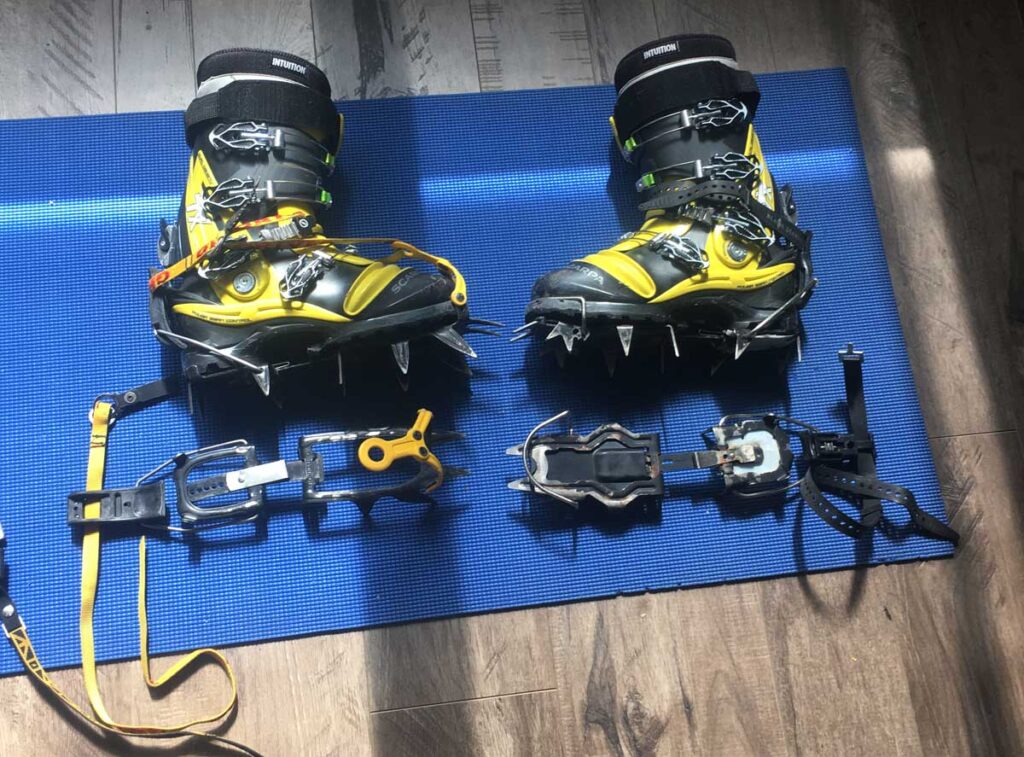
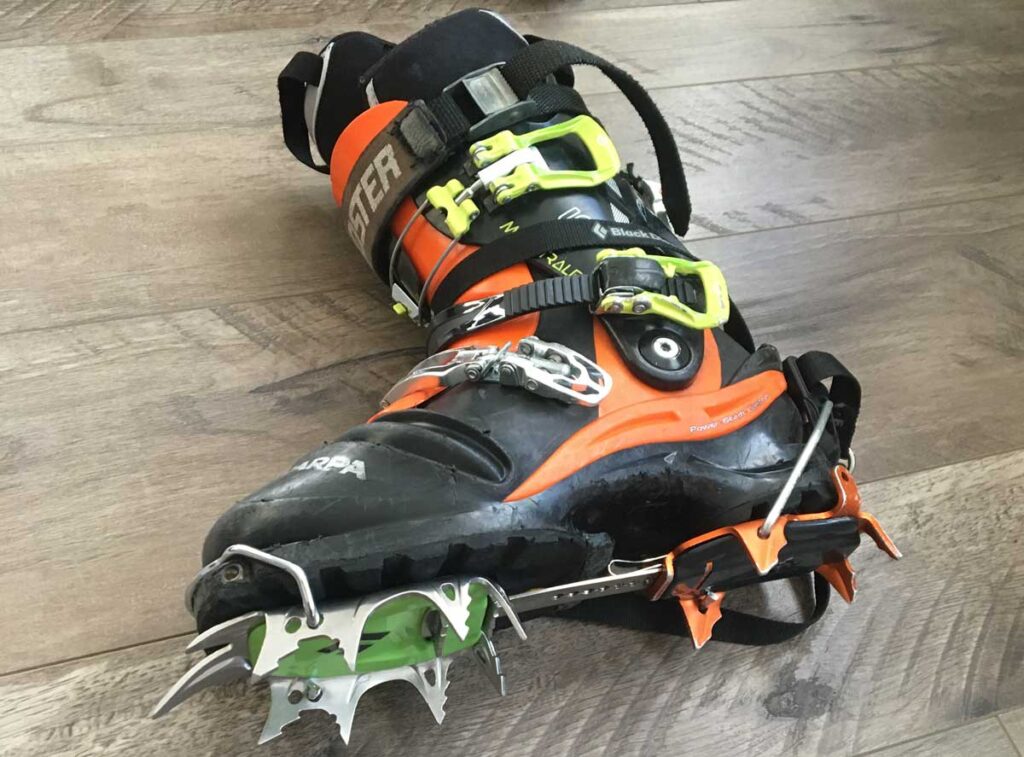
Pictured here is my newest obsession:
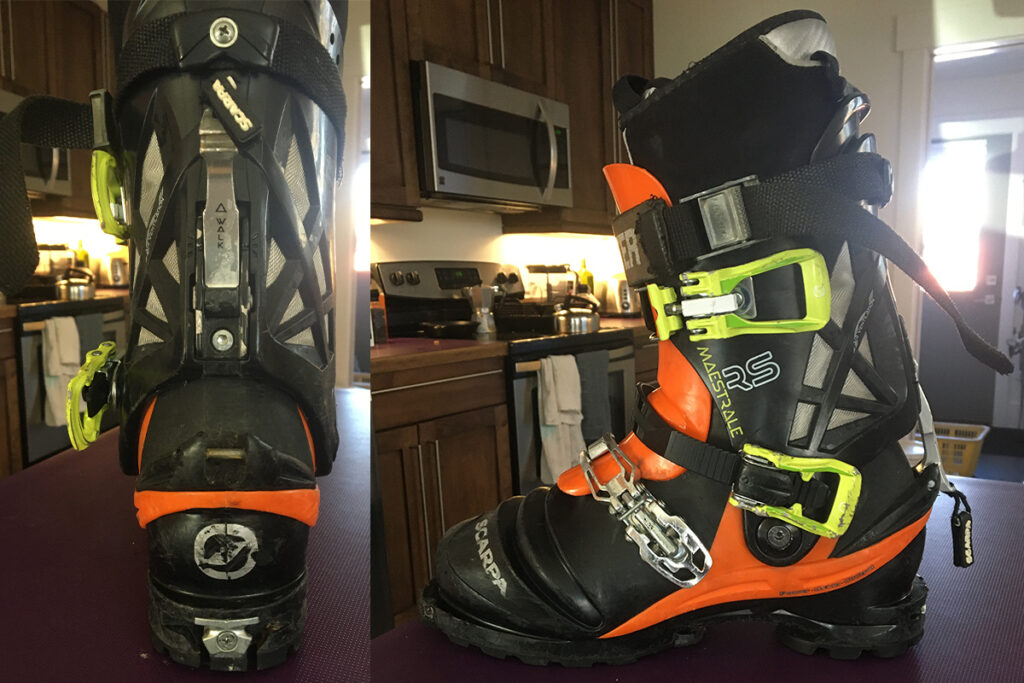
Discussion: Although the obvious progression is lighter and better efficiency, it has taken me a while to figure out the best boot combination to flex with lightweight NTN options (lynxes have pretty stiff binding springs). BEHOLD! The current answer to NTN tech bindings: Scarpa TX lowers with combined Scarpa Maestrale cuffs.
This DIY project requires a 4mm Allen key, PB blaster to unlock the cuffs, a Dremel to remove some boot plastic to expose the taper pin for the walk mode, and some plastic bushings found at Ace hareware store. Additionally, you will need a space to swear a lot, and an assortment of drill bits to get stripped cuff nuts drilled out of your boots…
You will want to adjust the walk mode to the most forward lean as possible, and bump the spoiler up has high as possible.
- A similar conversion can be found on @goskiracer Instagram page. Mine was slightly different but accomplished the same thing.
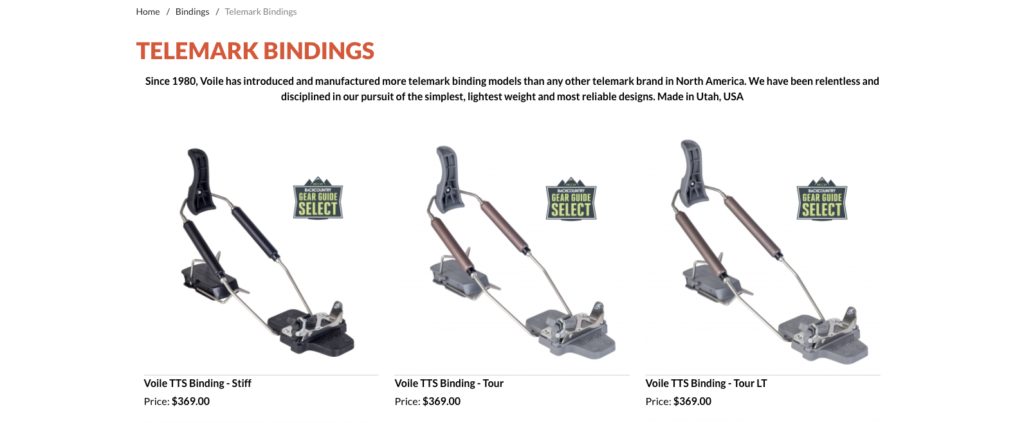
The end result? A boot that walks like bedroom slippers, weighs approximately “really light” and skis somewhere between a T2 and a T1. In the end it has a very upright stance, but I have come to really, really like the way they both ski and tour. I have put about 50 days on this setup and probably won’t go back to 75mm anymore. It you want to lighten your load even more, check out Voilé’s new TTS binding Here.
Telemark Ski Mountaineer Principle 2:
Crampons! Crampons? Crampons…
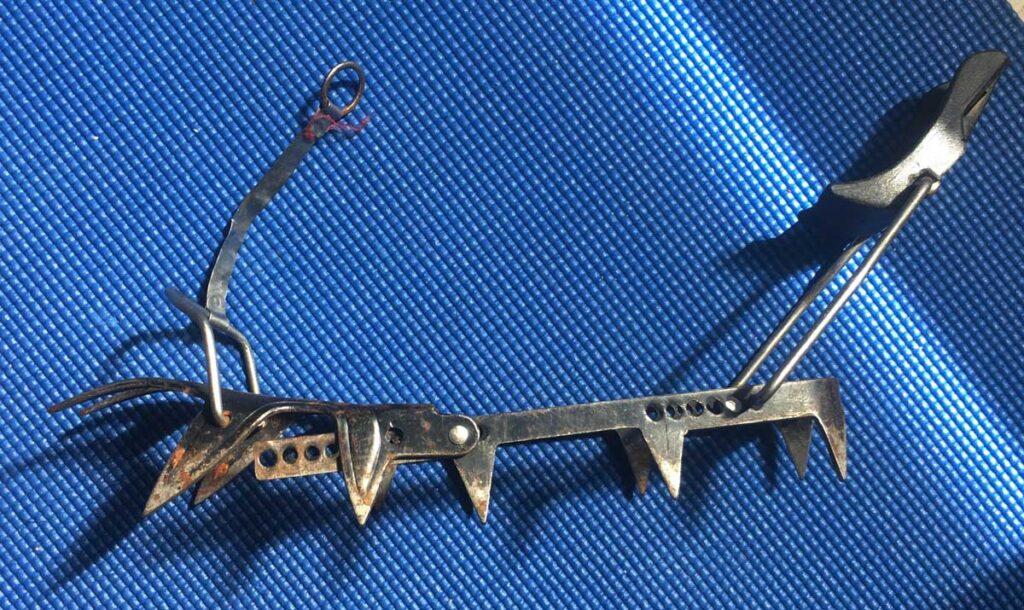
There is a common and unfortunate misconception that NTN boots accept crampons better than duckbill boots. This is generally false. Duckbill boots tend to work with most modern fully-automatic and semi-ridged crampons. From experience, I can tell you that Black Diamond after-market WIDE toe wires and stock heel throws work really well with 75mm boots and reasonably well for NTN boots. That includes aluminum and stainless steel crampons.
For a long time, I used a pair of old horizontal steel crampons made by petzl. The toe wire and heel throw worked very well with 75mm boots, and seemed like a quiver of one. Unfortunately it came without anti-balling plates. This unfortunate situation was effectively doctored with custom cut milk jug plastic, secured on the crampon with zip ties. This is a great trick for any crampon you want to add some anti-balling characteristics to. It is effective and affordable, even for a telemark skier;)
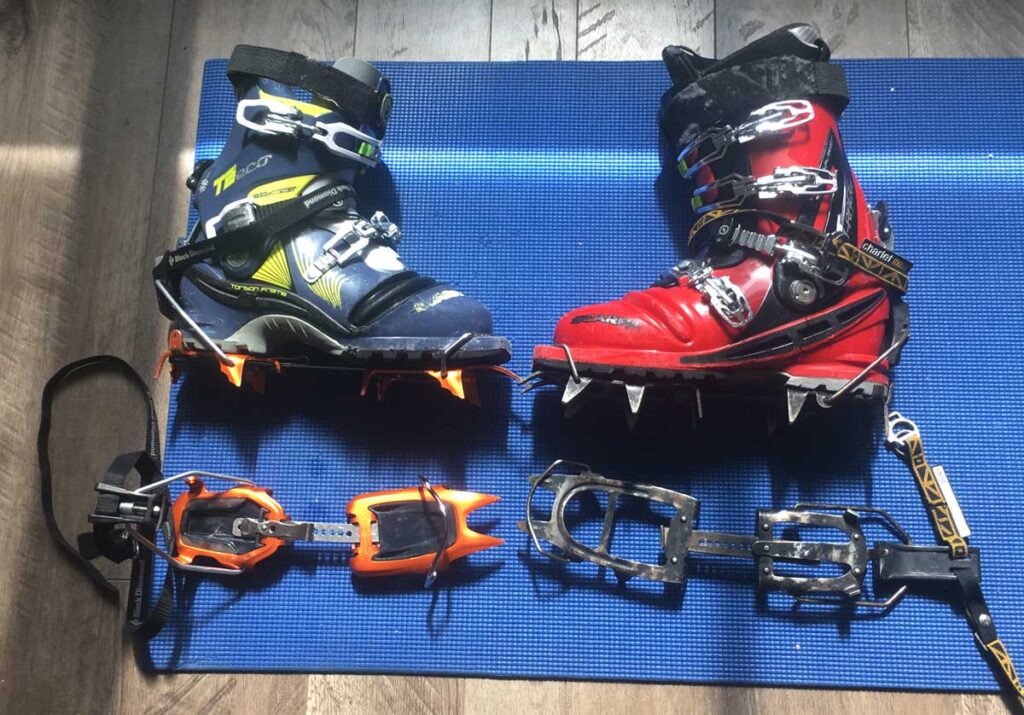
If you are dabbling in the telemark tech world and are using an NTN boot, some very rare and old Black Diamond sabretooth crampons work, but most of the time, semi-automatic crampons are the answer for NTN boots.
The downfall in most all of modern crampons lies in the fact that telemark boots have bellows. Unlike AT boots, tele boots are designed to flex in the boot sole. For the most part, this isn’t an issue unless you are actually climbing waterfall ice. Examples where this could be an issue is the Grand Teton Ford/Stettner route, some bigger traverses, or other descents that hold glacier ice.
The solution? Scrounge your local used gear markets for the no-longer-manufactured fully-rigid crampon. This reduces bellow flex in climbing ice, therefore improving climbing security. Generally, these older crampons also have a toe bail big enough to accommodate NTN Boots.
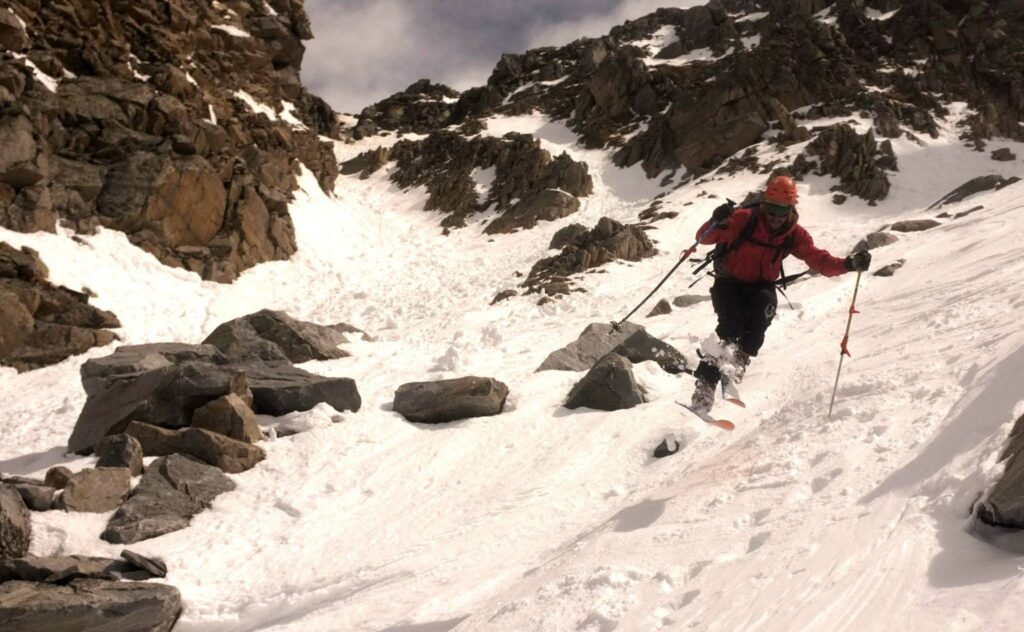
Telemark Ski Mountaineer Principle 3:
practice how you play.
If you aspire to telemark ski well, especially as a ski mountaineer, you need to telemark ski every day you go skiing. No alpine skiing. Ever. Period. The nuances and intimacies of the telemark turn demand your top physical and mental condition. If you are switching back and forth between the two disciplines, you will build muscle memory pathways in your brain for both types of turns. you don’t want your brain to be conditioned to do anything other understand and know the balance needed for having a free heel. This said, you will absolutely need to have the ability to make an alpine turn, but an alpine turn on free heel equipment. Some argue that they are the same turn. I would argue differently.
Telemark Ski Mountaineer Principle 4:
pole plants are your 6th sense.
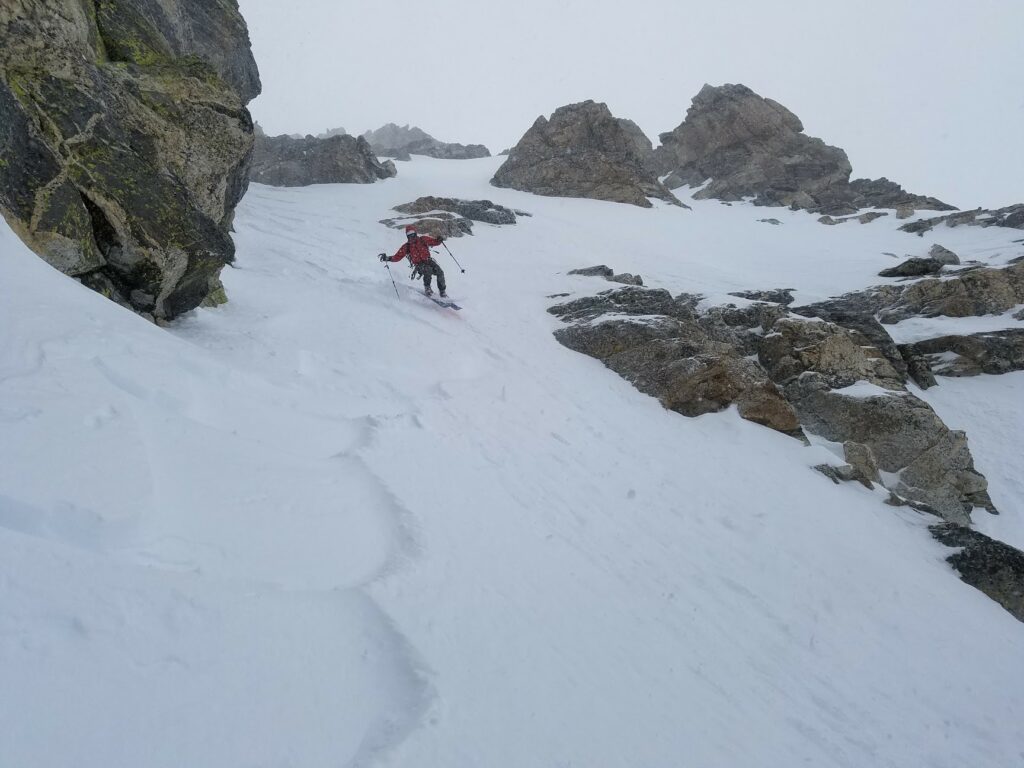
One of the best parts of telemark skiing for me is the concentration required that connects turning style and cadence to the consistency of the snow. Unlike alpine skiing, Freeheel turns generally allow less time to make minor tweaks or adjustments to your center of gravity. Therefore, your pole plants should be telling you how to make your next turn. If the pole plant is in firm snow, you need to land your next hop turn with your weight forward and with ample downward energy to gain edge purchase (petal hopturn). If your poleplant is telling you that it is soft snow in front of you, you need to be more uptright with slightly more pressure on you heelpiece on the downhill ski. If you feel a wind skin or breakable crust, hop turns are helpful even on mellower slopes.
Experiment with stylistic changes in your turn based upon what your pole plants are telling you. Without fully understanding and conquering the telemark petal hop turn, I don’t suggest stepping into the 50 degree realm without it.
In the end, being a telemark ski mountaineer means that you have to be more dedicated than your Alpine counterparts, sometimes skiing on homemade equipment, and maintaining quads stronger than galvanized steel. If you like tinkering with fiddly hardware, you commonly find yourself jaded on mainstream ski culture, and you enjoy being made fun of by your ski partners, telemark ski mountaineering is for you.
Thanks for playing,
-Ty
About the Author
Ty Guarino
Location: Bozeman, MT
Skis: V8 186cm / Charger Ace 178cm
Website: www.TelemarkTy.com
Instagram: @ty.guarino
Ty is a career Mountain Guide and Ski Patroller currently working for Exum Mountain Guides, Beartooth Mountain Guides, Montana Mountaineering Association and Bridger Bowl Ski Patrol. He is the only active American IFMGA Mountain Guide working solely on Telemark gear. Originally from southern New Hampshire, Ty developed his passion for Backcountry skiing on the eastern flanks of Mt Washington in New Hampshire’s Presidential range. Currently Residing in Bozeman Montana, Ty skis as much as possible in and around the greater Yellowstone ecosystem. Although Bridger Bowl is his home mountain, Ty likes to explore other skiing venues including Alaska, South America, New Zealand, and New England.
Share this Post