

Master the Art of Setting a Skin Track
Share this Post
During a day of backcountry skiing or riding, the vast majority of our day is spent walking uphill, usually quite slowly, to access our intended objective. It stands to reason then, that we should think about the up track as just as much a part of the day as the ski back down. As backcountry skiing continues to grow in popularity, I think it’s important that we all continue to think critically about setting great skin tracks to minimize exposure to avalanche terrain and maximize opportunities to further our knowledge of the mountains. Now, let’s dive into the art of setting a skin track.
On vulnerability and exposure
While skinning, we’re undoubtedly at our most vulnerable to avalanche hazards. We’re moving slowly, generally close together, usually have toes locked (if on tech bindings), and are usually stripped down to base layers or have outerwear vents fully open. This is not to say that the consequences of being buried in a slide are different than if we’re caught while skiing, it’s to emphasize that many of the precautions we typically take to manage avalanche hazards while skiing downhill are not as feasible while we’re touring uphill. (There’s an important distinction between vulnerability, exposure, and consequence that goes beyond the scope of this article, but I recommend watching Grant Statham’s TEDx talk on risk for a more in-depth explanation of these terms)
Precautions when setting a skin track
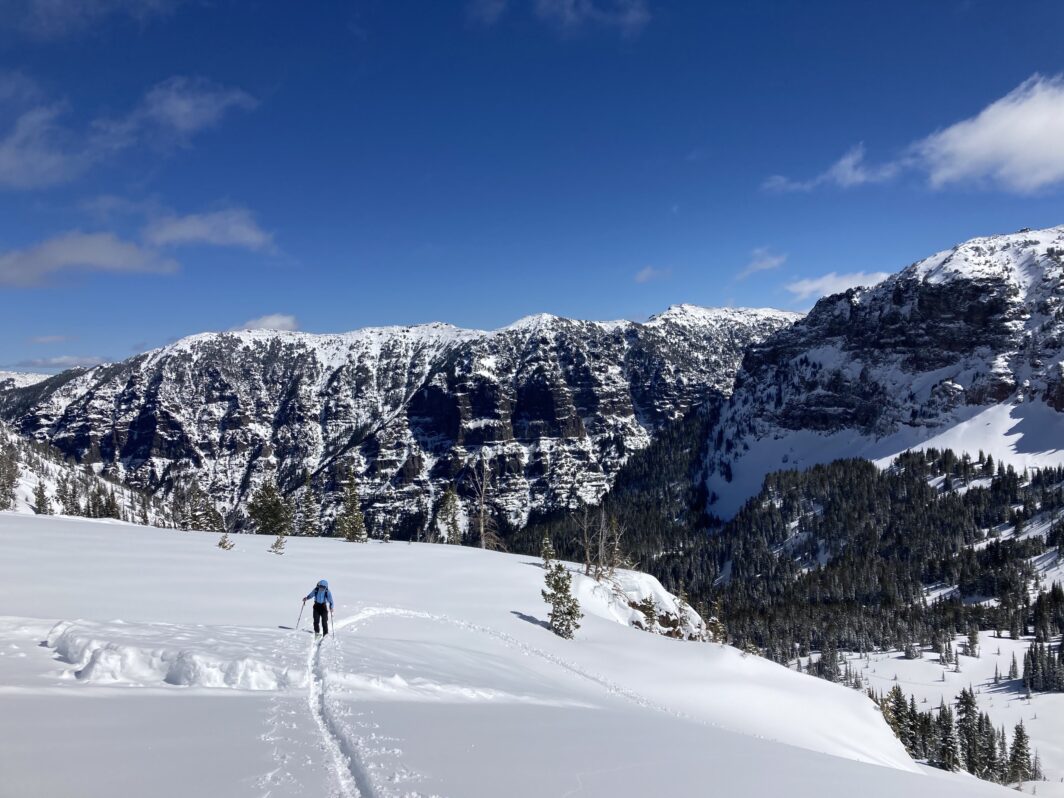
Without effective precautions to reduce our vulnerability, the only reasonable means to reduce hazards is to eliminate (or drastically reduce) our exposure. This is summarized as, “put the skin track in a safe place” in many avalanche classes. In the same vein as the mantra that tracks on a slope do not mean it’s safe to ski or won’t avalanche, I would re-emphasize that just because a skin track exists does not mean it’s not exposed to avalanche terrain. It’s the responsibility of every backcountry skier and rider to be able to recognize avalanche terrain and not blindly follow a skin track just because it’s there. If you choose to trust and follow an existing skin track, it’s important to verify it avoids avalanche terrain.
Have your head on a swivel, take the time to measure slope angles above, avoid terrain traps below, and give yourself an adequate buffer for error, and be willing to break trail and move the skin track to a less exposed route if necessary. There are indeed times when the only feasible way to access a ski line is by traveling through substantial avalanche terrain on the ascent, but I reserve those objectives for days when we have high confidence in snowpack stability and when both I and my partners are in full acknowledgment and acceptance of the risks involved. (For a great primer on assessing avalanche terrain and run-outs, see this Wild Snow article on alpha angles.)
Time for observation
As we spend most of our time during the day on the skin track moving slowly, it’s a great time to make snowpack observations. Most avalanche education courses introduce various quick, qualitative tests to perform while traveling uphill. This includes hand shears, pole probes, and simply breaking trail in fresh snow alongside an existing skin track. These are all ways to continually gather information throughout a day of ski touring that help inform our decision-making when it comes to objectives and avalanche hazards. Good decisions are rooted in accurate interpretation of good information. The more good information we have, and the more practice we have in interpreting that information, the more confidence we can have in our decisions. The greater the degree of uncertainty in information, the wider we need to build our margin around hazards.
We also need to practice our ability to interpret and apply the information we’re collecting. Skin track conversations and check-ins at breaks are great times to share your observations with the group and collectively interpret that information.
Energy conservation
The proliferation of lightweight and efficient touring gear has made backcountry skiing more fun and more accessible. Lightweight and efficient touring gear also allows for steeper and more awkward skin tracks to feel easier even though they require more energy than mellow skin tracks. I think with the notable exception of the “uphilling” trend, most of us tour uphill not as a primary activity but as a means to go skiing. With that in mind, it makes sense to minimize energy expenditure on the way up to maximize available energy for the way down. This is especially true when heading out to make multiple laps; if you know you’ll be traveling a skin track multiple times, you’re only hurting yourself if your skin track is excessively steep. When setting a skin track in a popular area, it’s nice practice to set a track with the enjoyment of subsequent parties in mind.
The Use of Risers
When setting a skin track, I think of using my risers like 4WD on my truck. A flat ski with no riser is the equivalent of 2WD – most efficient and most limited on traction, but perfectly adequate for most road conditions with route planning, good driving, and good tires. My low riser is the equivalent of 4WD High – Noticeably less efficient on flats but great traction and gets me up just about everything when I decide to turn it on. The high risers are the equivalent of 4WD Low – Super inefficient for any distance, but I can turn it on as the “oh s***” bail-out mode when I need maximum torque and traction on especially steep sections.
The first person on a skin track almost always has the best grip, with each successive person making the track just a little bit icier. If I, as the first person, use my low risers (or worst case, my high risers), there’s a good chance that the skin track will soon turn into a steep sheet of ice and become unclimbable by subsequent parties. When I’m breaking trail, I minimize use of my risers to encourage myself to find the mellowest path through a given stretch of terrain. With that said, it’s important to be able to adapt your skin track to the terrain and while a flatter skin track is generally more energy efficient, there are times when a short steep section is necessary to avoid an obstacle.
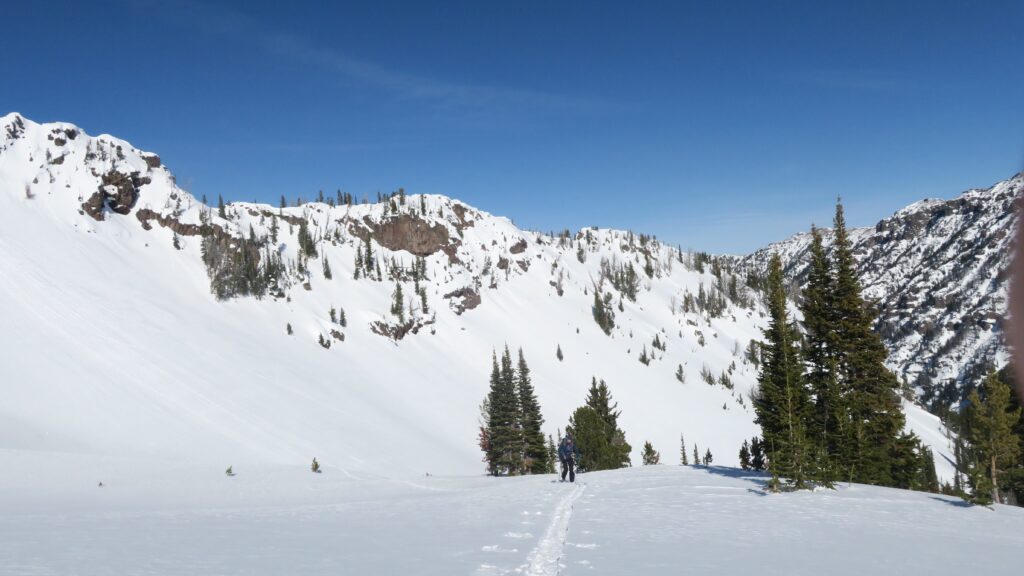
Flow of the mountain
Beyond energy conservation, time for snowpack observation, and avoidance of avalanche terrain, a skin track is a way to interpret the landscape and learn how to move through the mountains with grace. A good skin track gets one to the top of a ski run with no exposure to avalanche terrain, opportunities for snowpack observation, and a minimum of physical effort. A great skin track gets one to the top of a ski run with no exposure to avalanche terrain, opportunities for snowpack observation, minimal physical effort, and flows with the contours of the mountain.
I’ve read the optimum skin track angle is between 12° and 15°. I disagree…sort of. I think the optimum skin track angle is the one that best matches the terrain. While a low-angle skin track is generally more efficient, it’s important to be able to go steep when the terrain calls for it.
Envision Setting Your Skintrack
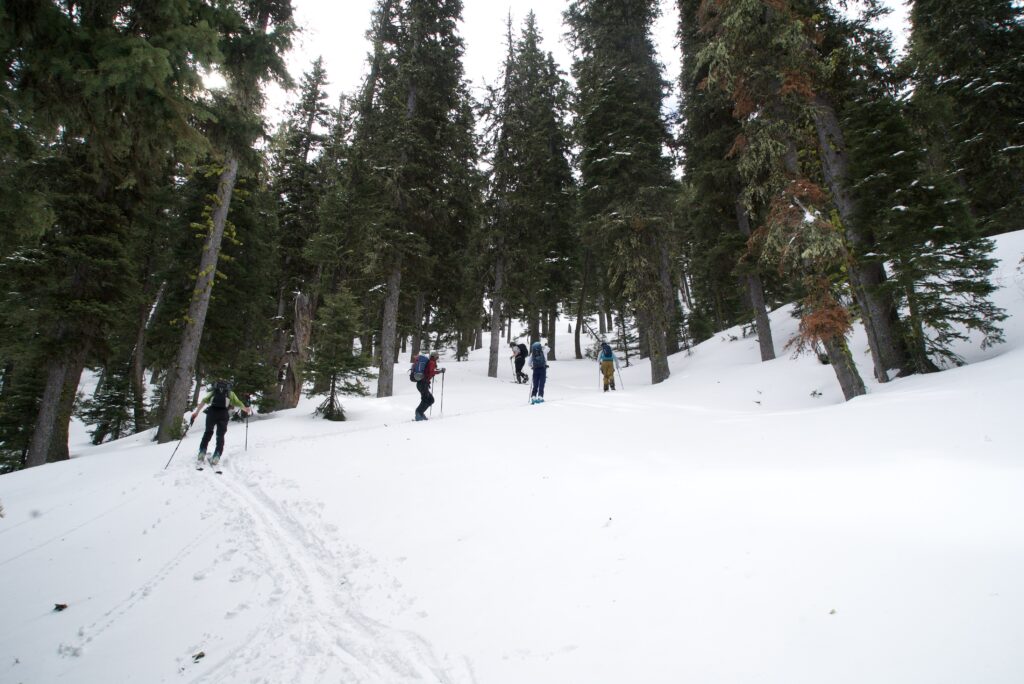
When working my way through the mountains, I’m always trying to plan my track a couple of turns (or more!) in advance and envision where to keep it mellow, where I’ll need to go steep, and where to change direction. As I said before, I try to minimize my use of risers when setting a track. This keeps me honest with the angle. Beyond that, I’m always looking for natural ramps to break up a steeper slope into gentler sections, flatter spots to stop at for easy changes in direction, and subtle changes in aspect and slope angle to curl the track around contour lines rather than forcing my way straight up a slope.
On a slope scale, this means finding places where I can round my turns rather than using a kick-turn, and often deliberately overstepping my turns so the inside corner is not as steep. By overstepping, or taking one or two steps past the intended center of the turn, it’s easier to step skis across the fall line of the turn as opposed to needing to bring skis up the fall line where one is more likely to slip. Common places to find those lower-angle spots to make a change in direction include the down-slope side of trees, the tops of rocks or large fallen trees, or small benches on ridges or between gullies.

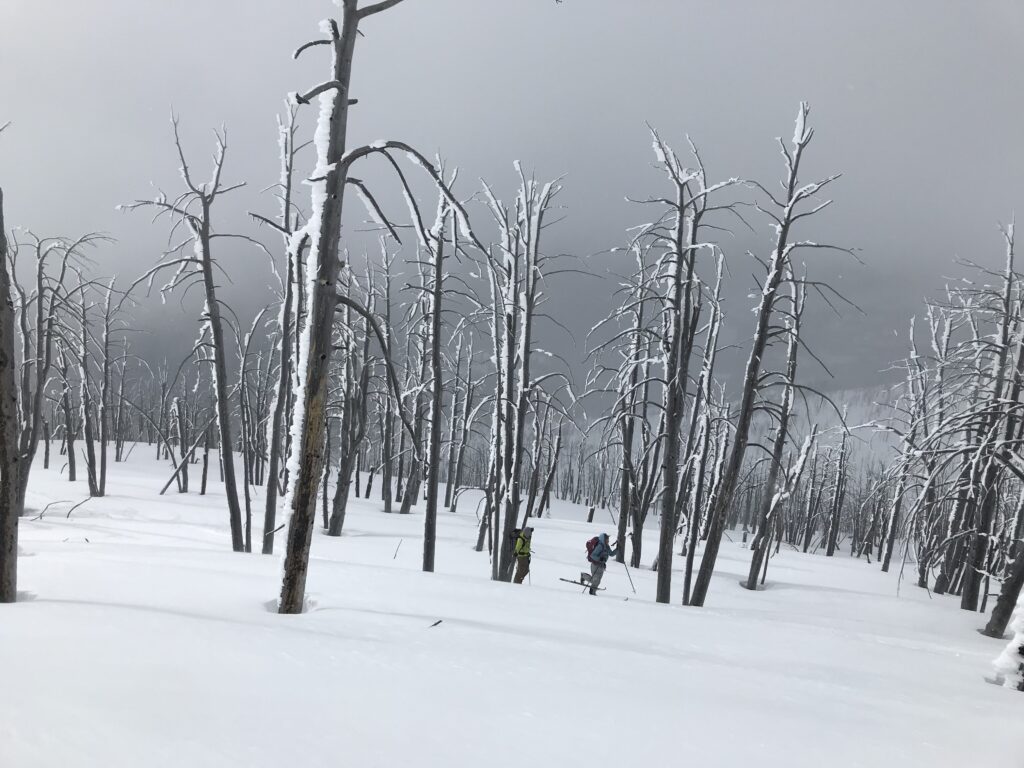
Further Considerations
Another common trap of setting a skin track is getting sucked into subtly steeper terrain by focusing on too small a section of the mountain. When focused on the snow immediately around you it’s easy to gradually increase in track angle without even realizing it. A change in steepness isn’t always drastic, it’s sometimes as small as ending up on the steeper side of a ridge or patch of trees, and often isn’t even felt on the first lap, but becomes readily obvious on the second. I remind myself to keep my head up and use consistent natural features like vertical tree trunks and the profile of ridgelines to calibrate my sense of steepness.
When steep sections and sharp and tight changes in direction are required, I do my best to make the steep part of a track on the straightaway between direction changes and make the couple of steps into and out of the turn at a lower angle. That way I can stay balanced during the turn and not feel like I’m about to slide backward.
If the terrain allows, it’s often easier to do one long rising traverse across a slope between flat spots than try to keep a tight kick turn line up one of the margins or on a narrow part of the slope. Some exceptions to this practice include when setting a skin track to avoid avalanche terrain, or if you’re trying to preserve a perfect slope for a joyous, untrammeled ski run. The focus on keeping a track moderate often means my skin track is slightly longer than a steeper track, but I reach the top with more energy and less frustration.
Refining your skin track skills
Setting a skin track is a skill that is honed over our entire time spent backcountry skiing. Whether it’s your first year or your 50th year of touring, setting a high-quality skin track is something to keep practicing. It’s one that I practice and reflect on every single time I go touring.
About The Author
Matt Zia
Location: Bozeman, MT
Top Gear Picks: Charger Ace 178cm / V8 186cm / OG Drifter 182cm with TTS
Website: www.montanamountaineering.org
Instagram: @ziapet / @montanamountaineering
Matt is a professional mountain guide and educator in the Greater Yellowstone Ecosystem, and is an AMGA Certified Rock guide and Assistant Alpine/Ski guide. He plans to finish his IFMGA certification and is one of only a handful of telemark ski guides. He currently works for Exum Mountain Guides and for the Montana Mountaineering Association, for which he is the Executive Director. As a person of mixed Chinese and American descent, he knows the importance of identifiable mentors in all aspects of life, both in the mountains and the valleys.
Matt’s passion for backcountry skiing lies in long adventures far from the road, and he counts bear spray as an essential part of his spring skiing kit. He can usually be found exploring the Greater Yellowstone Ecosystem with skis on his feet or ice tools in hand.
Share this Post