

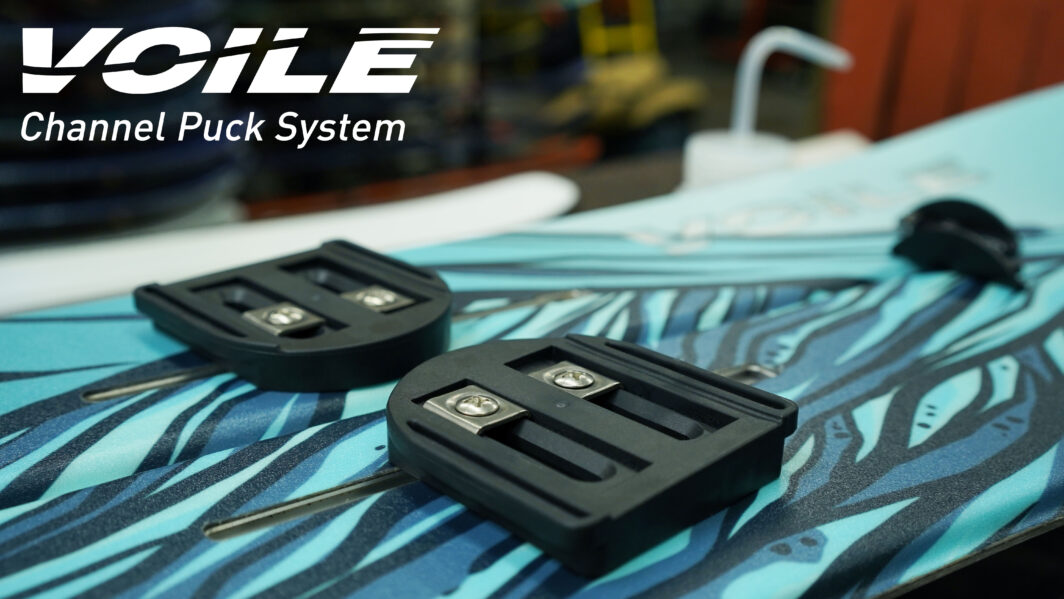
The Voile Channel Puck System
Share this Post
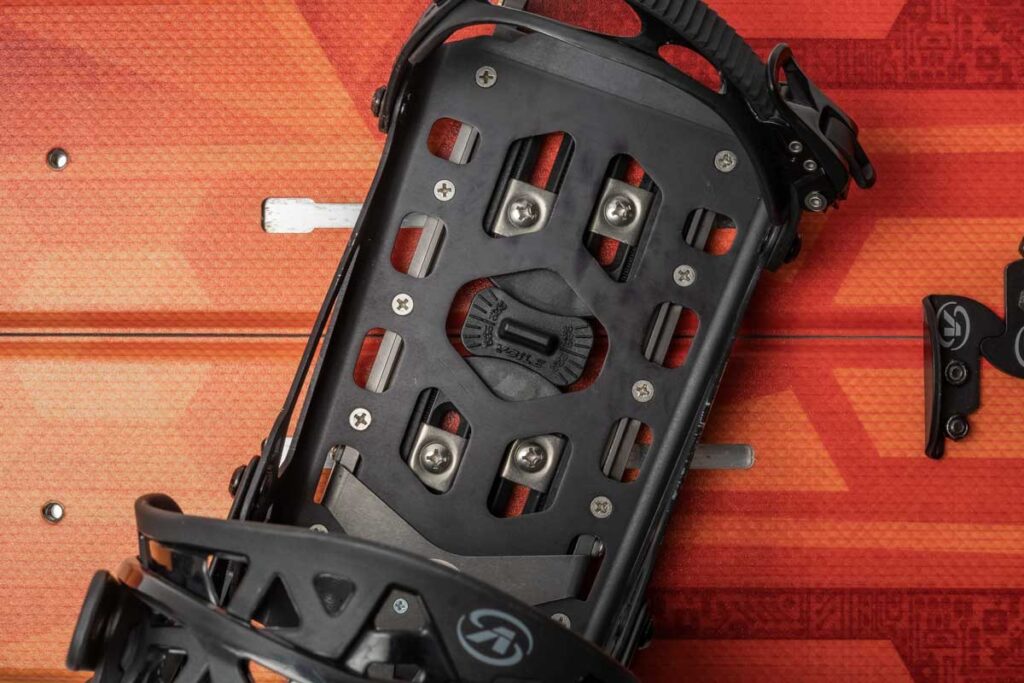
The Voile Channel Puck System is our answer to the insert binding mount systems of the past. The Channel Puck System is featured across our entire board lineup due to its micro-adjustability and ease of adjustment. Whether you’re on a workbench or out in the field, the channel puck system offers supreme convenience.
Here we will go over the features that make the Channel Puck System shine and show you how to adjust it. You can watch the video below or read ahead to learn how to adjust this system with ease.
Adjusting the Voile Channel Puck System
If you have purchased a Voile Splitboard with Channel Mounts, the Pucks should come already installed on the board. We recommend that you do not remove the pucks to set your stance.
The Channel Puck System offers micro-adjustability whether you’re at home or in the field. Below, we’ll explain how to dial in your stance and make micro-adjustments in both settings.
At home adjustment
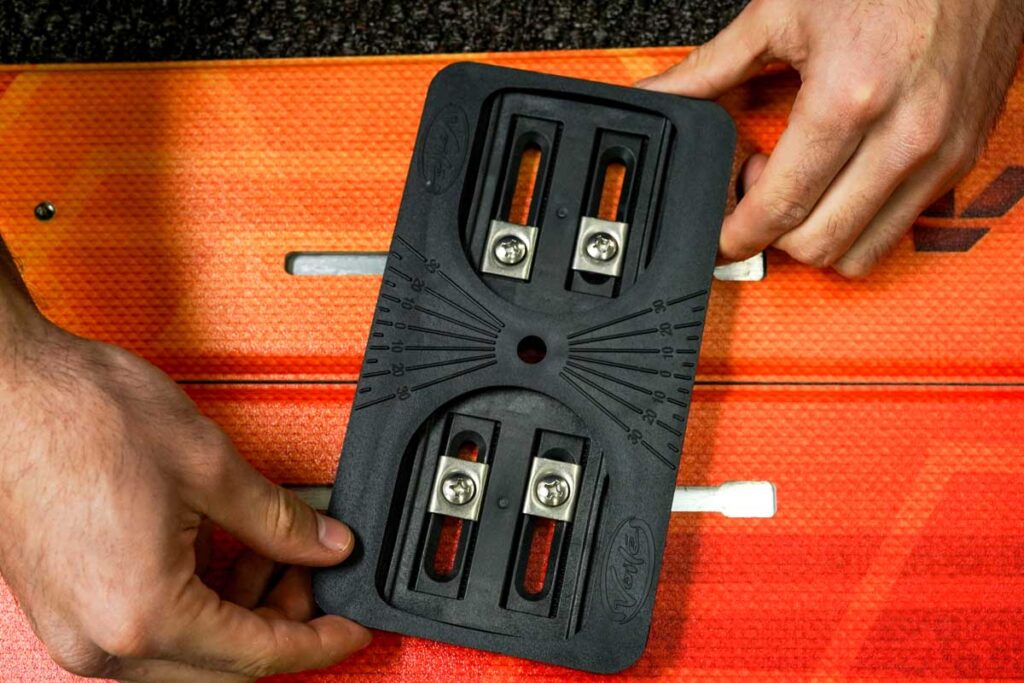
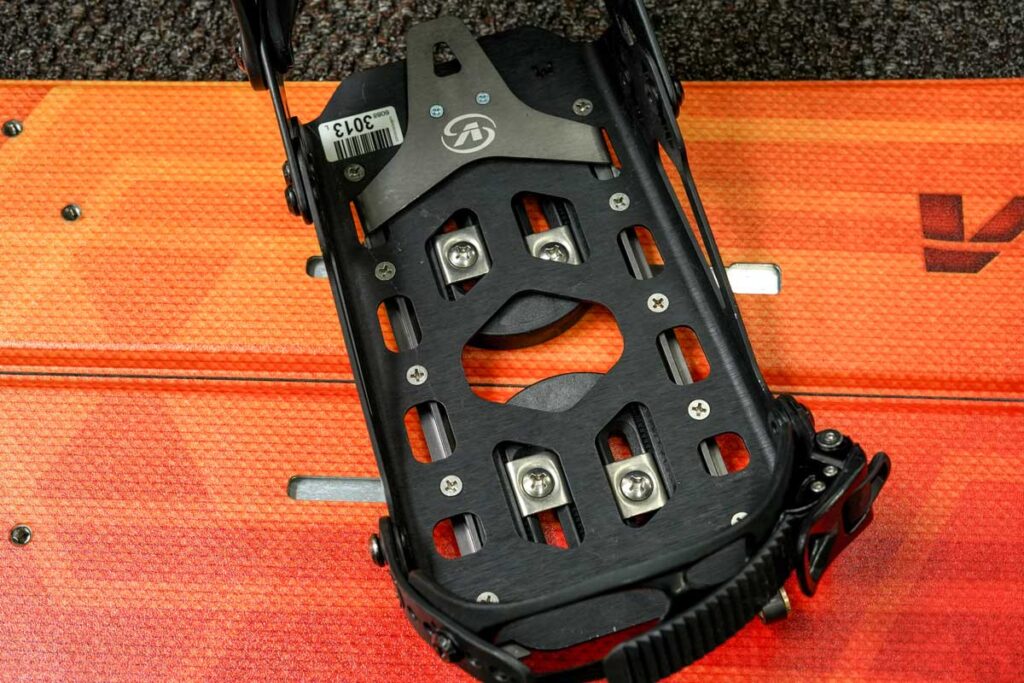
- Place the Puck Alignment Guide over the pucks.
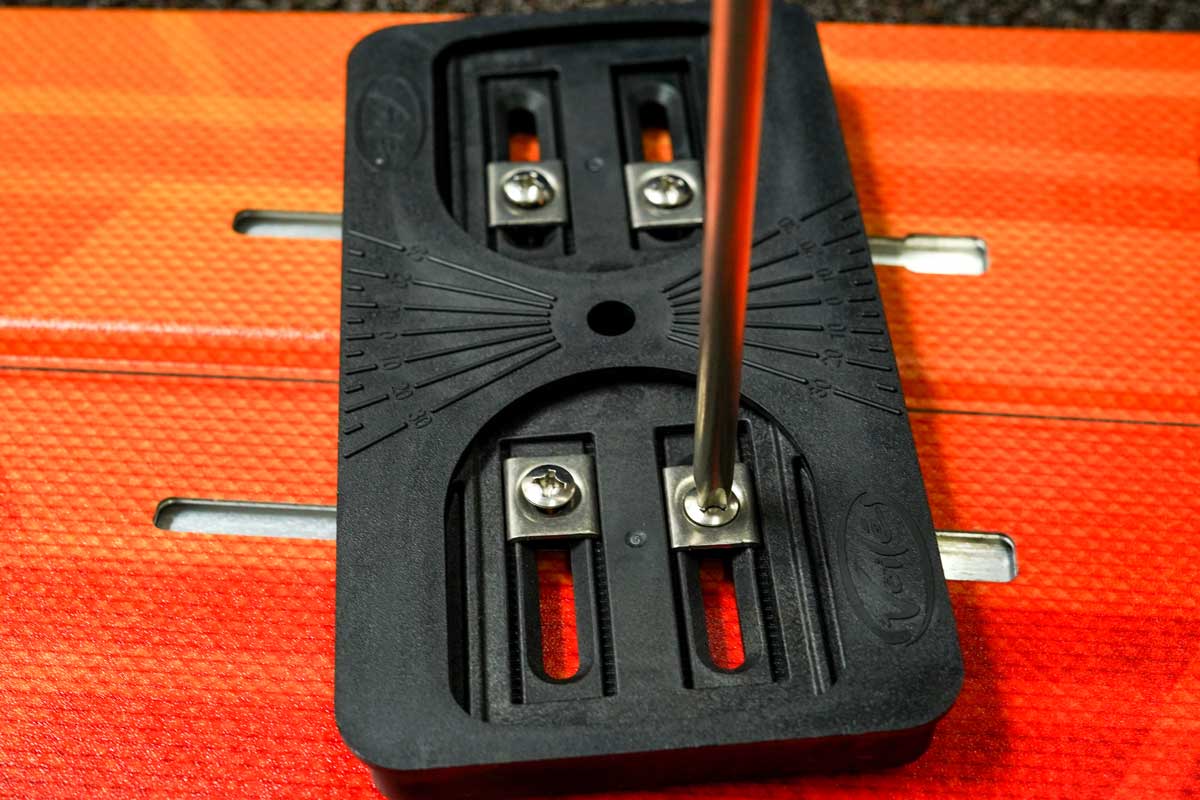
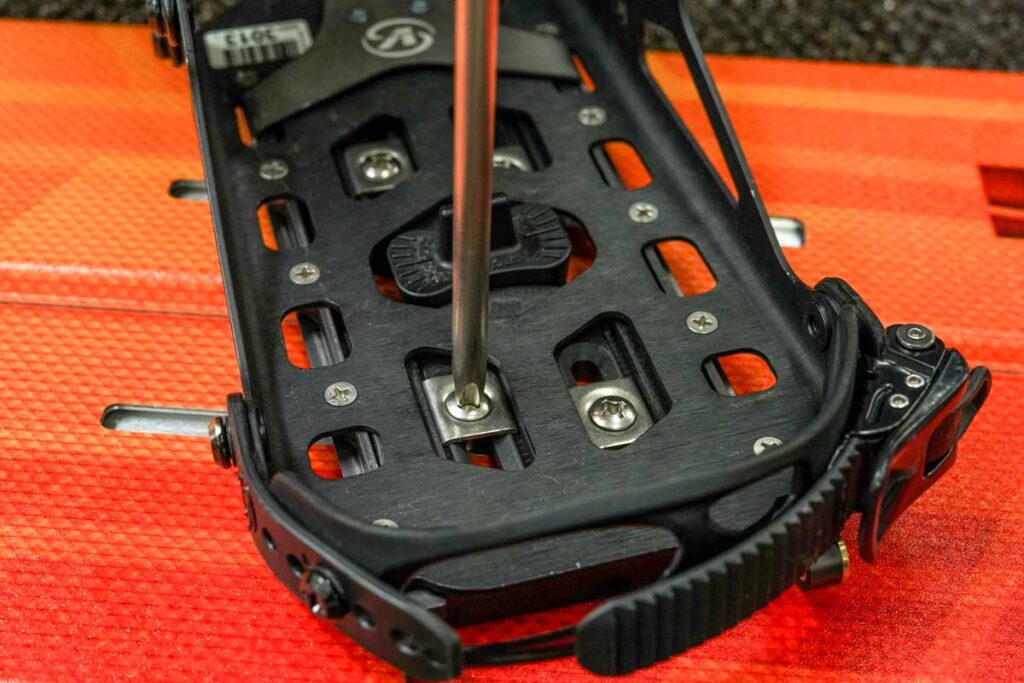
- Loosen the screws until you are able to pivot the pucks freely, but not to the point where they’re removable. They should still be attached to the channel t-nut.
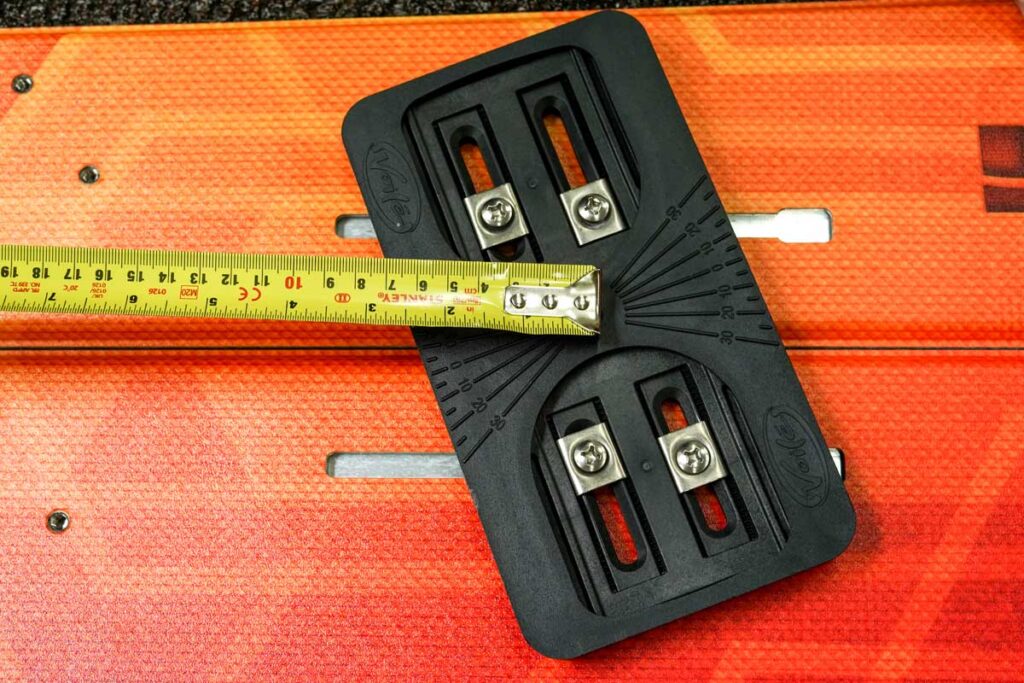
- Dial in your stance width and angle using a measuring tape and the angle markings on the Puck Alignment Guide.
- Tighten all of your screws and remove the Puck Alignment Guide.
- Hit the trailhead!
Field Adjustment
- Slide your splitboard binding over your pucks (In this case, a Voile Light Speed).
- Loosen the screws until you are able to pivot the pucks freely, but not to the point where they’re removable. They should still be attached to the channel t-nut.
- Place your field Puck Alignment Guide in between your pucks with the binding still in place.
- Dial in your stance width and angle using a measuring tape and the angle markings on the Puck Alignment Guide.
- Tighten all of your screws and remove the guide.
- Go Shred!
Channel Puck System Compatability
It’s important to note that the Voile Channel Puck System is not compatible with Channel Puck Systems from other brands such as Burton and K2. Only Voile parts work with the Voile system. If you’re in need of Voile pucks, screws, t-nuts, etc., you can find all of these small parts here on our website.
Full Splitboard Channel Puck System Installation Instructions
If you have purchased a Voile Splitboard, the pucks should come installed on the board. We recommend that you do not remove the pucks to set your stance. Simply place the Puck Alignment Guide over the pucks. Loosen the screws until you are able to pivot the pucks freely. Find your stance and re-tighten the screws.
NOTICE:
Included in this kit is a hex key and socket for tightening the board’s hooks.
Periodically check and tighten the hook hardware using these tools.
The new Voile Channel Puck System allows for quick, easy, secure and precise stance adjustments on splitboards built with channel mounts. They are canted at 3º to give the rider a more comfortable stance and a more enjoyable experience.
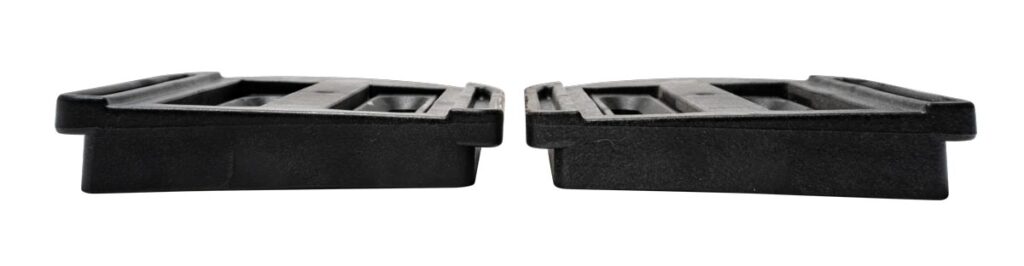
Your Voile Canted Channel Puck set will have 2 different sets of pucks. It is crucial to install these so that the toe-side and heel-side pucks are canted in the same direction, with all pucks canting away from the tip/tail of the board.
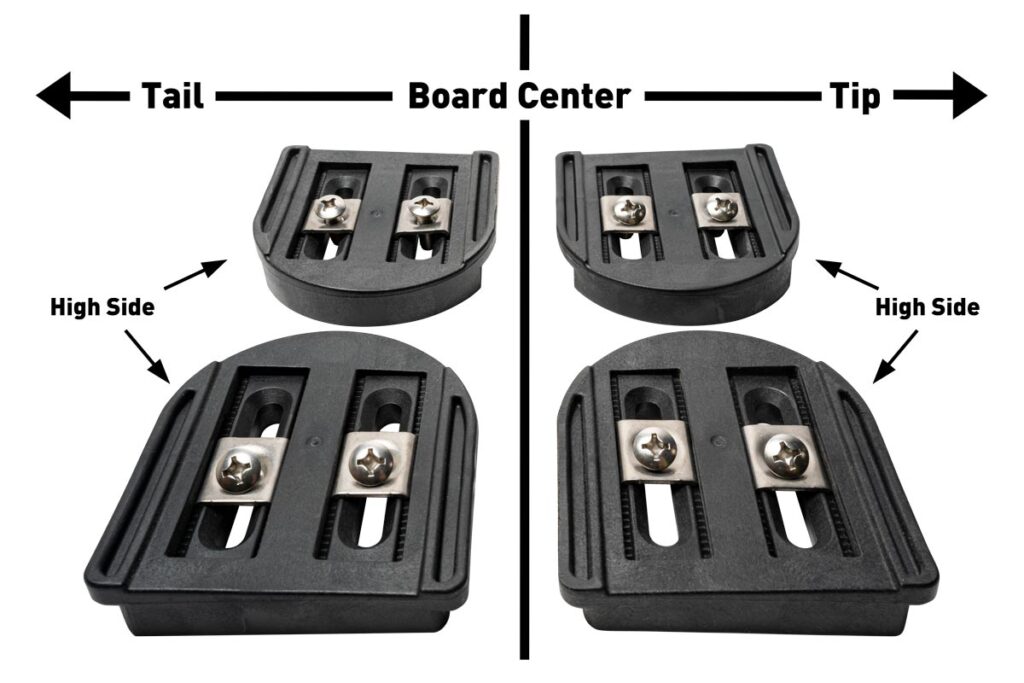
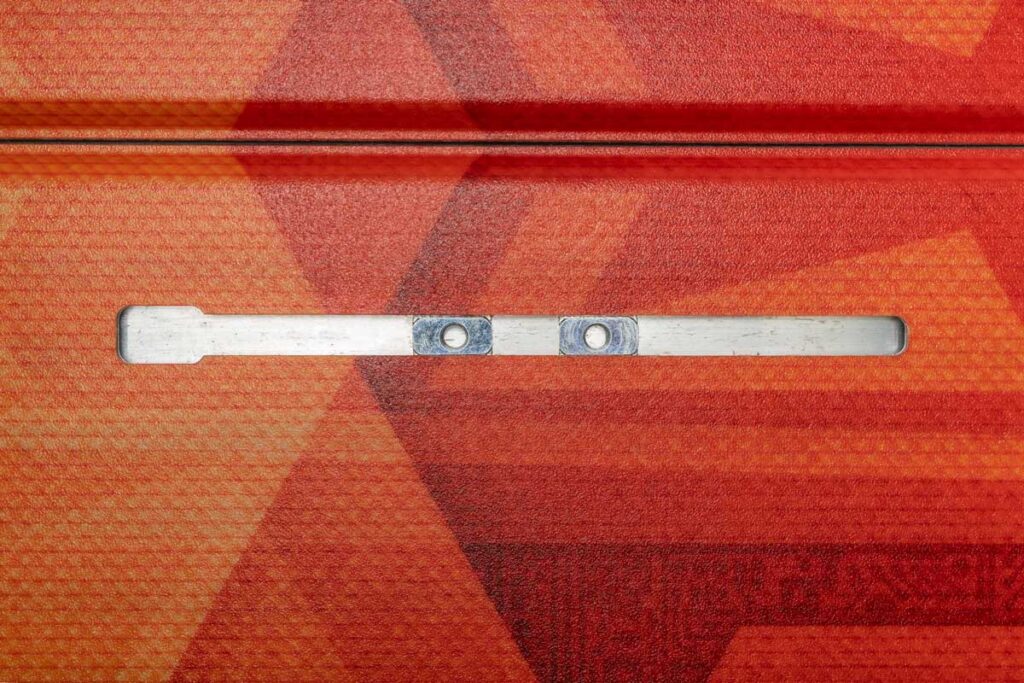
Locate the 8 Channel T-Nuts. With the raised portion of the T-Nut facing up, and the flat side facing down. Slide two T- Nuts into each of the (4) Channel Mounts. (See figure 1 below)
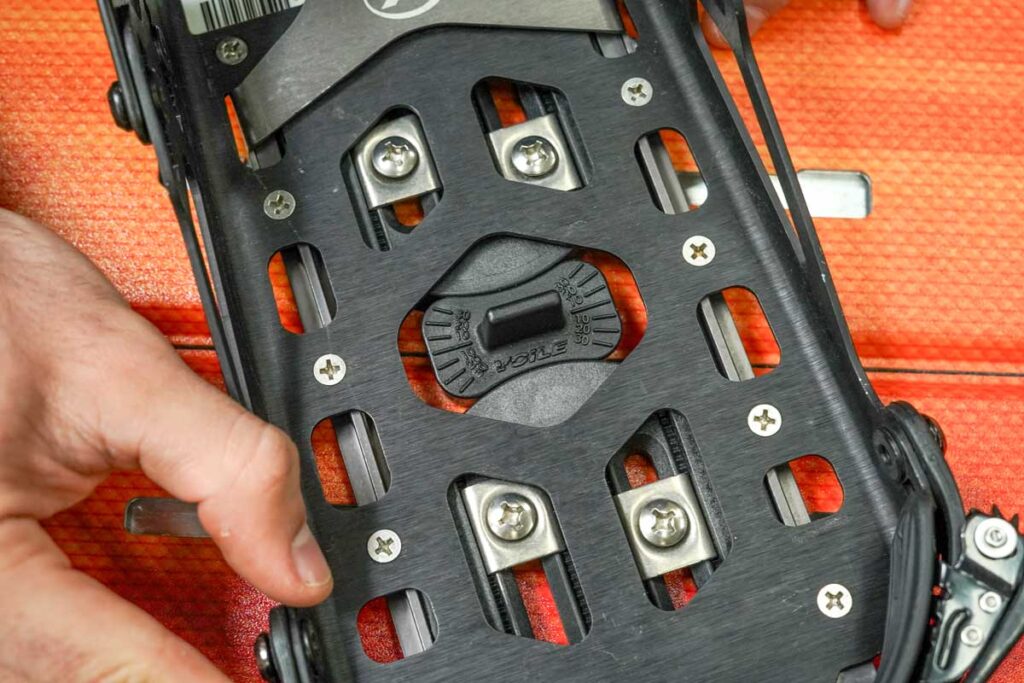
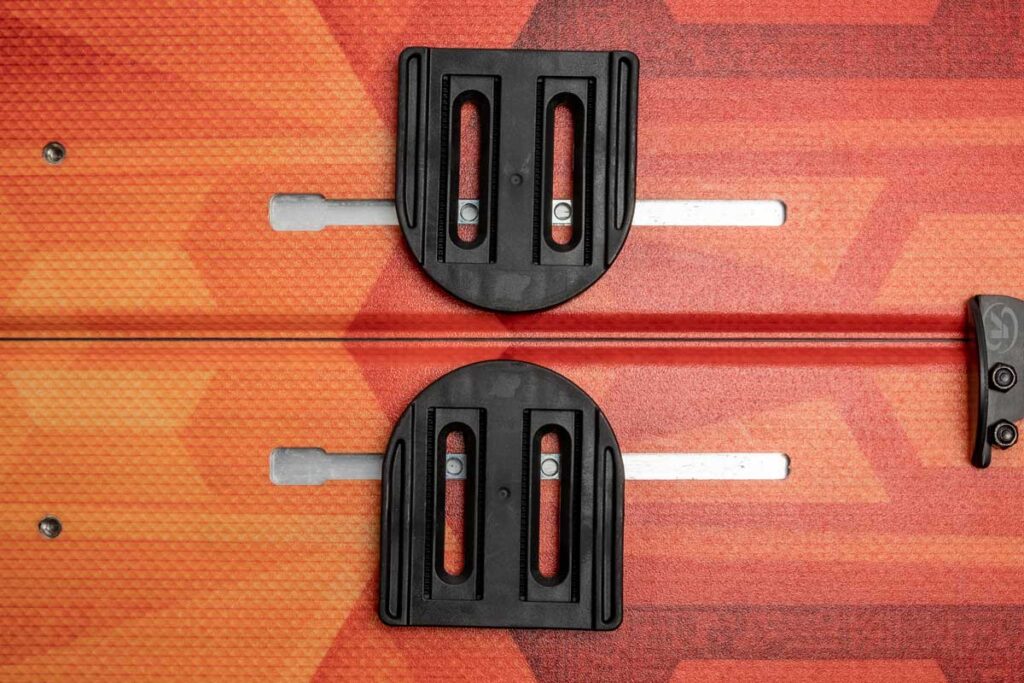
Locate 2 pucks. With the high side of the pucks pointed toward the tip / tail of the board, locate the pucks over the T-nuts of either your front or rear foot. (Figure 2)
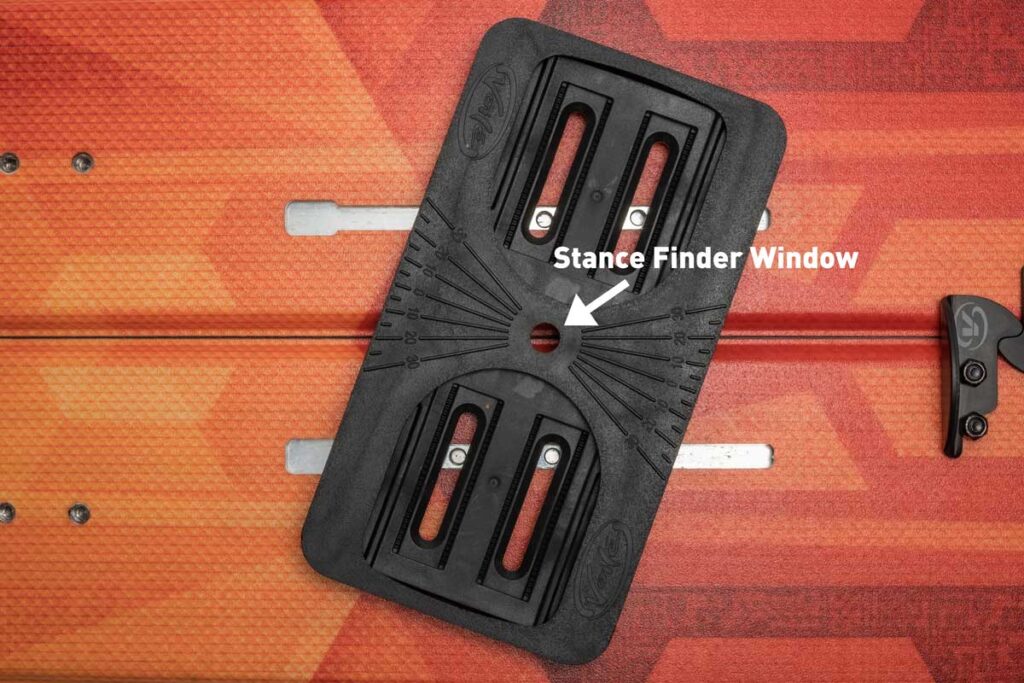
Locate the Puck Alignment Guide and fit it over the Pucks. Pivot until you achieve your desired stance and your Pucks are centered over the board. Once you are happy with the position of the mount, completely tighten the screws. (Figure 3)
With the appropriate binding, slide it over the Puck set and ensure the fit. Leave binding attached to the board and repeat the process for the other foot. (Figure 4)
Note: The maximum stance angle allowed by the Voile Canted Channel Puck is, roughly: +/- 35º
Share this Post