
Planning a Safe Backcountry Ski Tour: Avalanche Awareness and Navigation Basics
Share this Post
Planning a backcountry ski tour requires more than just picking a destination—it’s about managing risks, understanding avalanche hazards, and navigating with precision. This guide breaks down essential tour planning steps, from interpreting topographic maps and slope angles to incorporating avalanche forecasts and timing strategies. Whether you’re new to the backcountry or honing your skills, this article will help you create safer, smarter plans for winter adventures.
Tour planning, coupled with my own avalanche forecast, is my biggest risk mitigation tool. This process allows me the time to think without being encumbered by the distractions of backcountry travel: i.e. skiing is way too fun, 50mph winds, etc. With that said, tour planning takes time to learn how to do well, so make yourself comfortable. Let’s dive into this lesson on avalanches and tour planning.
Tour planning 101
Before we dive into winter tour planning, you will need some familiarity with basic navigational tools. A ‘topographic map’ is a map depicting the landscape or topography of a given area. Learning how to read one is your first step. Next, learning how to use both GPS and a compass will allow you to figure out where you are when weather conditions are poor, or when you make a wrong turn. GPS apps on smartphones such as Gaia, Caltopo, or OnX, have become very functional and currently seem to be the tools of choice. Guidebooks can greatly shortcut many of the tools taught below but vary greatly in their availability and level of detail. Caveat emptor. Find one you like and get familiar with it. Tutorials can be found on most apps’ websites.
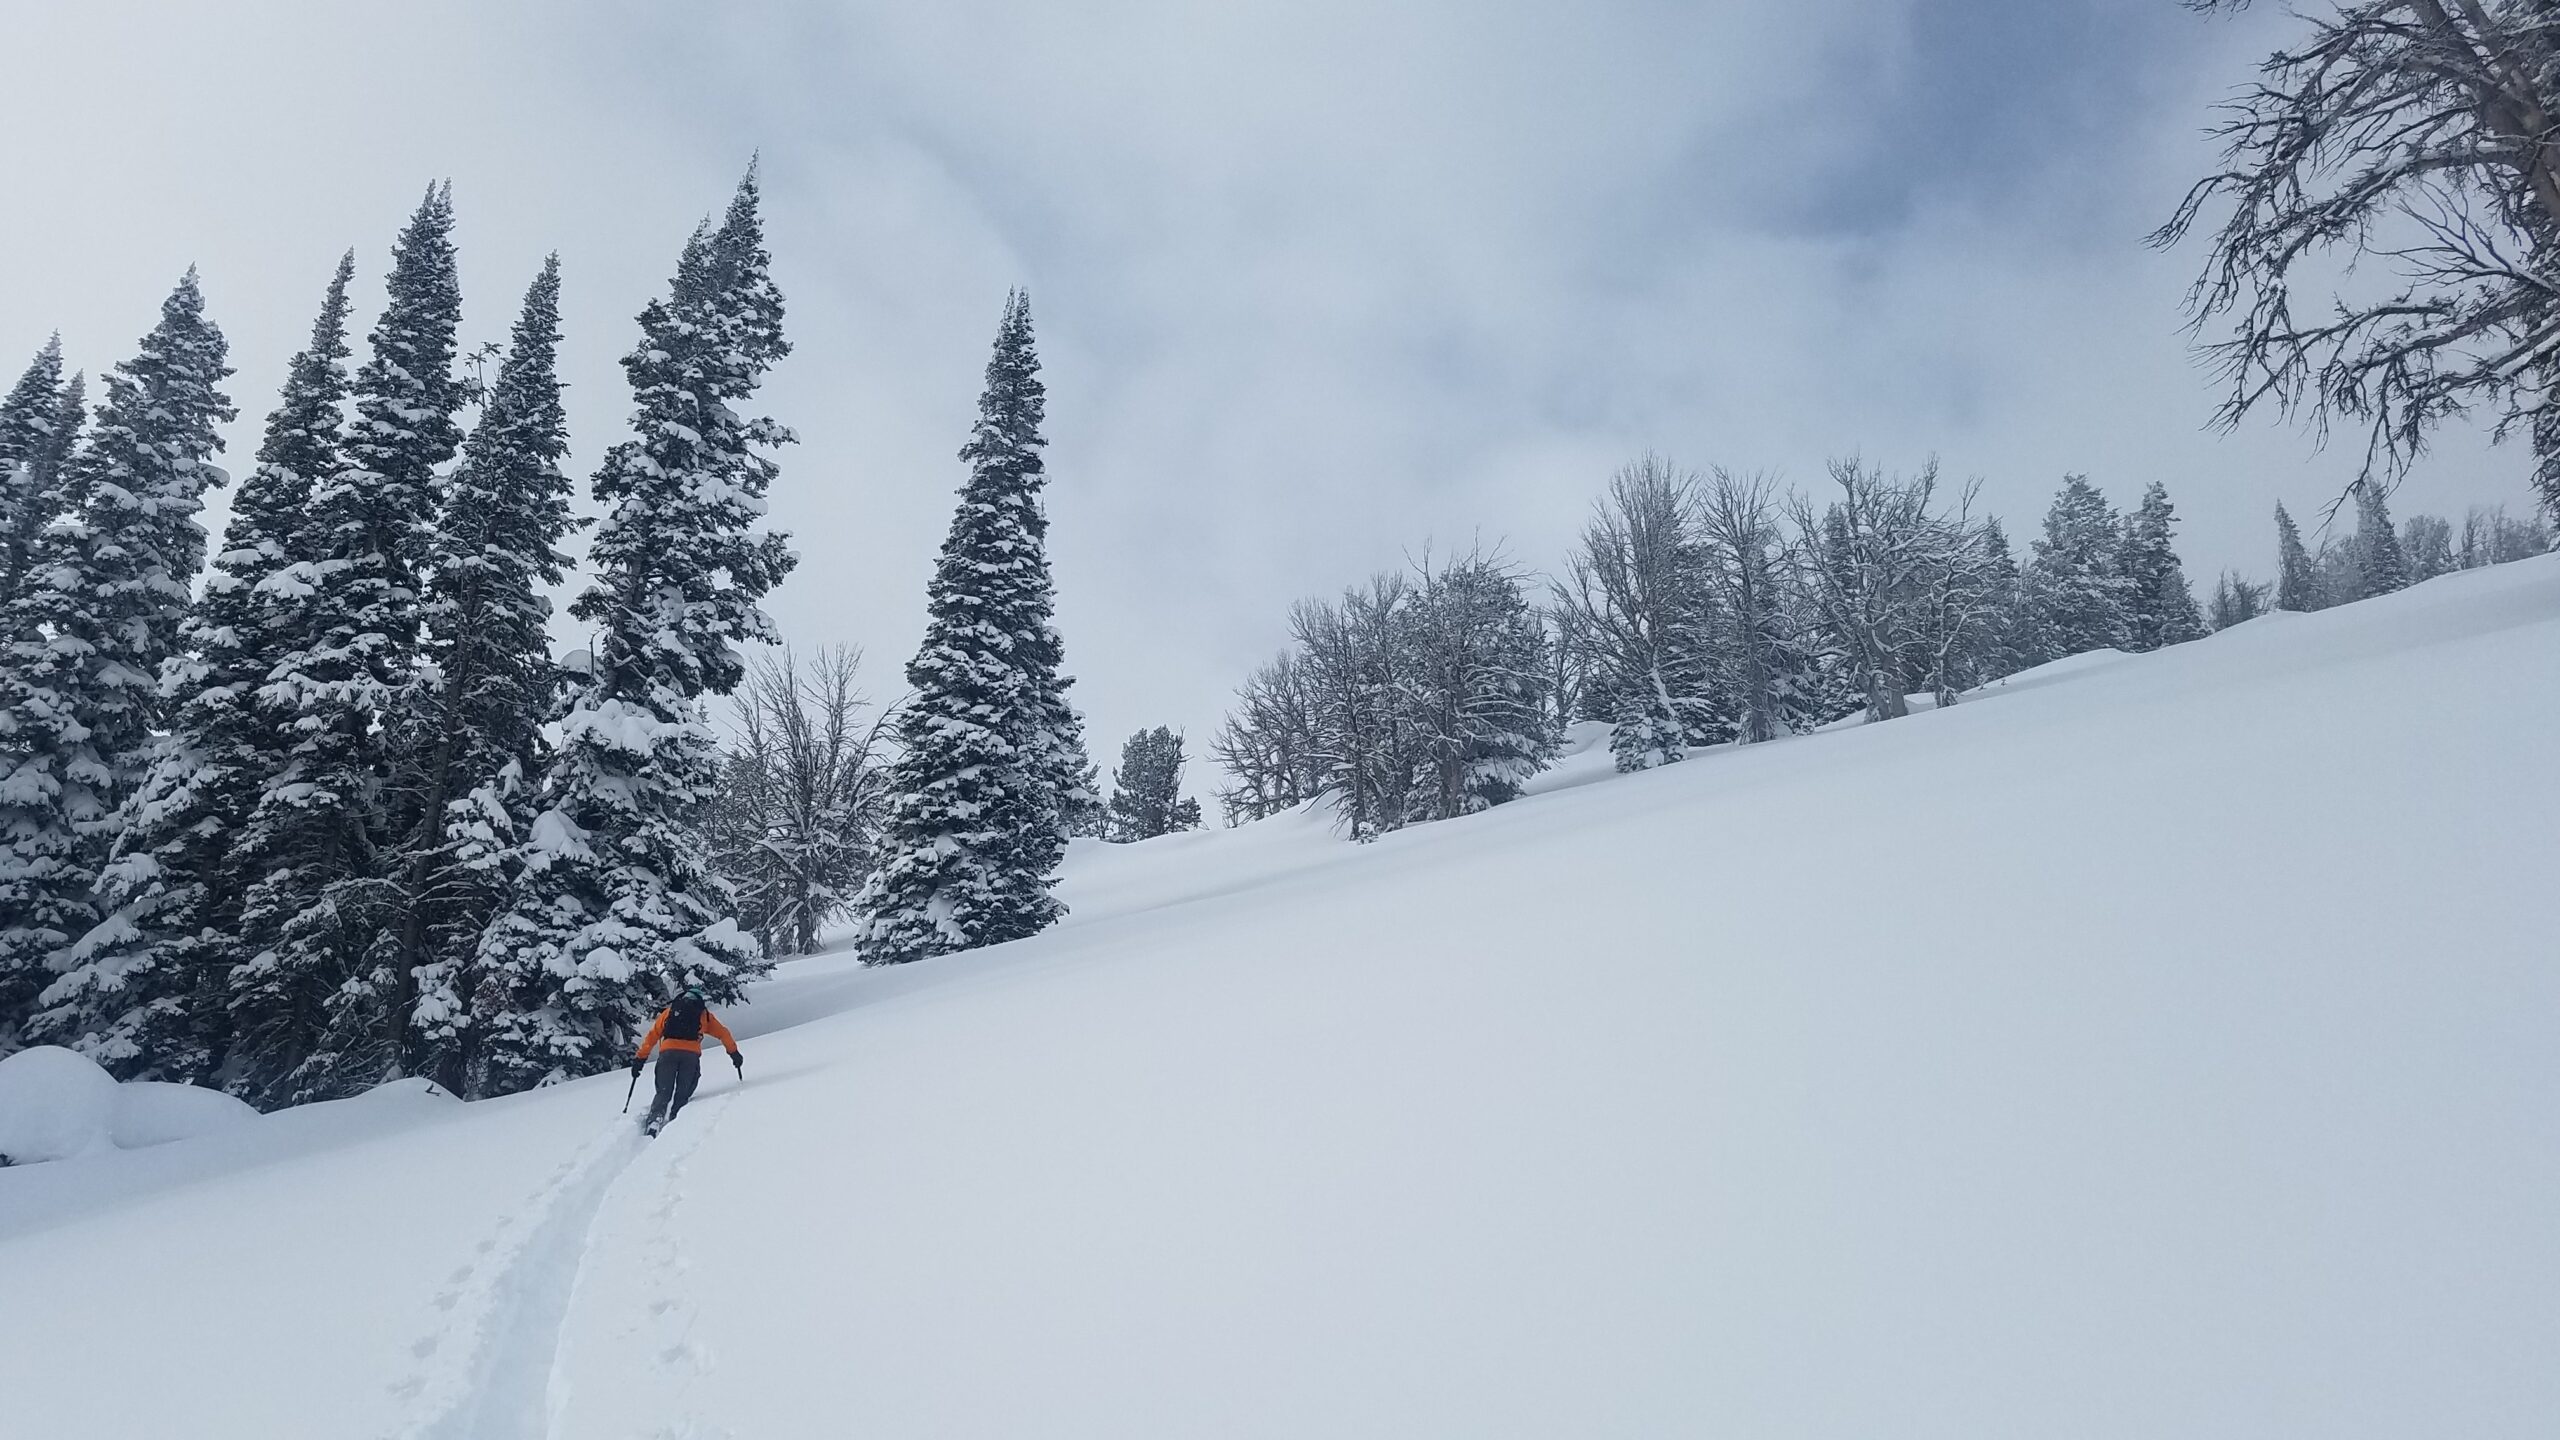
Now that you’ve put in the time to learn how to read a topo map and determine your current location, your attention shifts toward the winter side of things. Snowy mountains present numerous hazards that are generally not an issue during the summer. Shorter days, colder temps, avalanches, and deep or firm snow all make planning a winter tour more difficult (and also more rewarding) than planning a summer hike. As with all new skills involving an element of risk, practice them in familiar places and snowpacks before exporting them to new spots.
A Tour Planning Example on Teton Pass
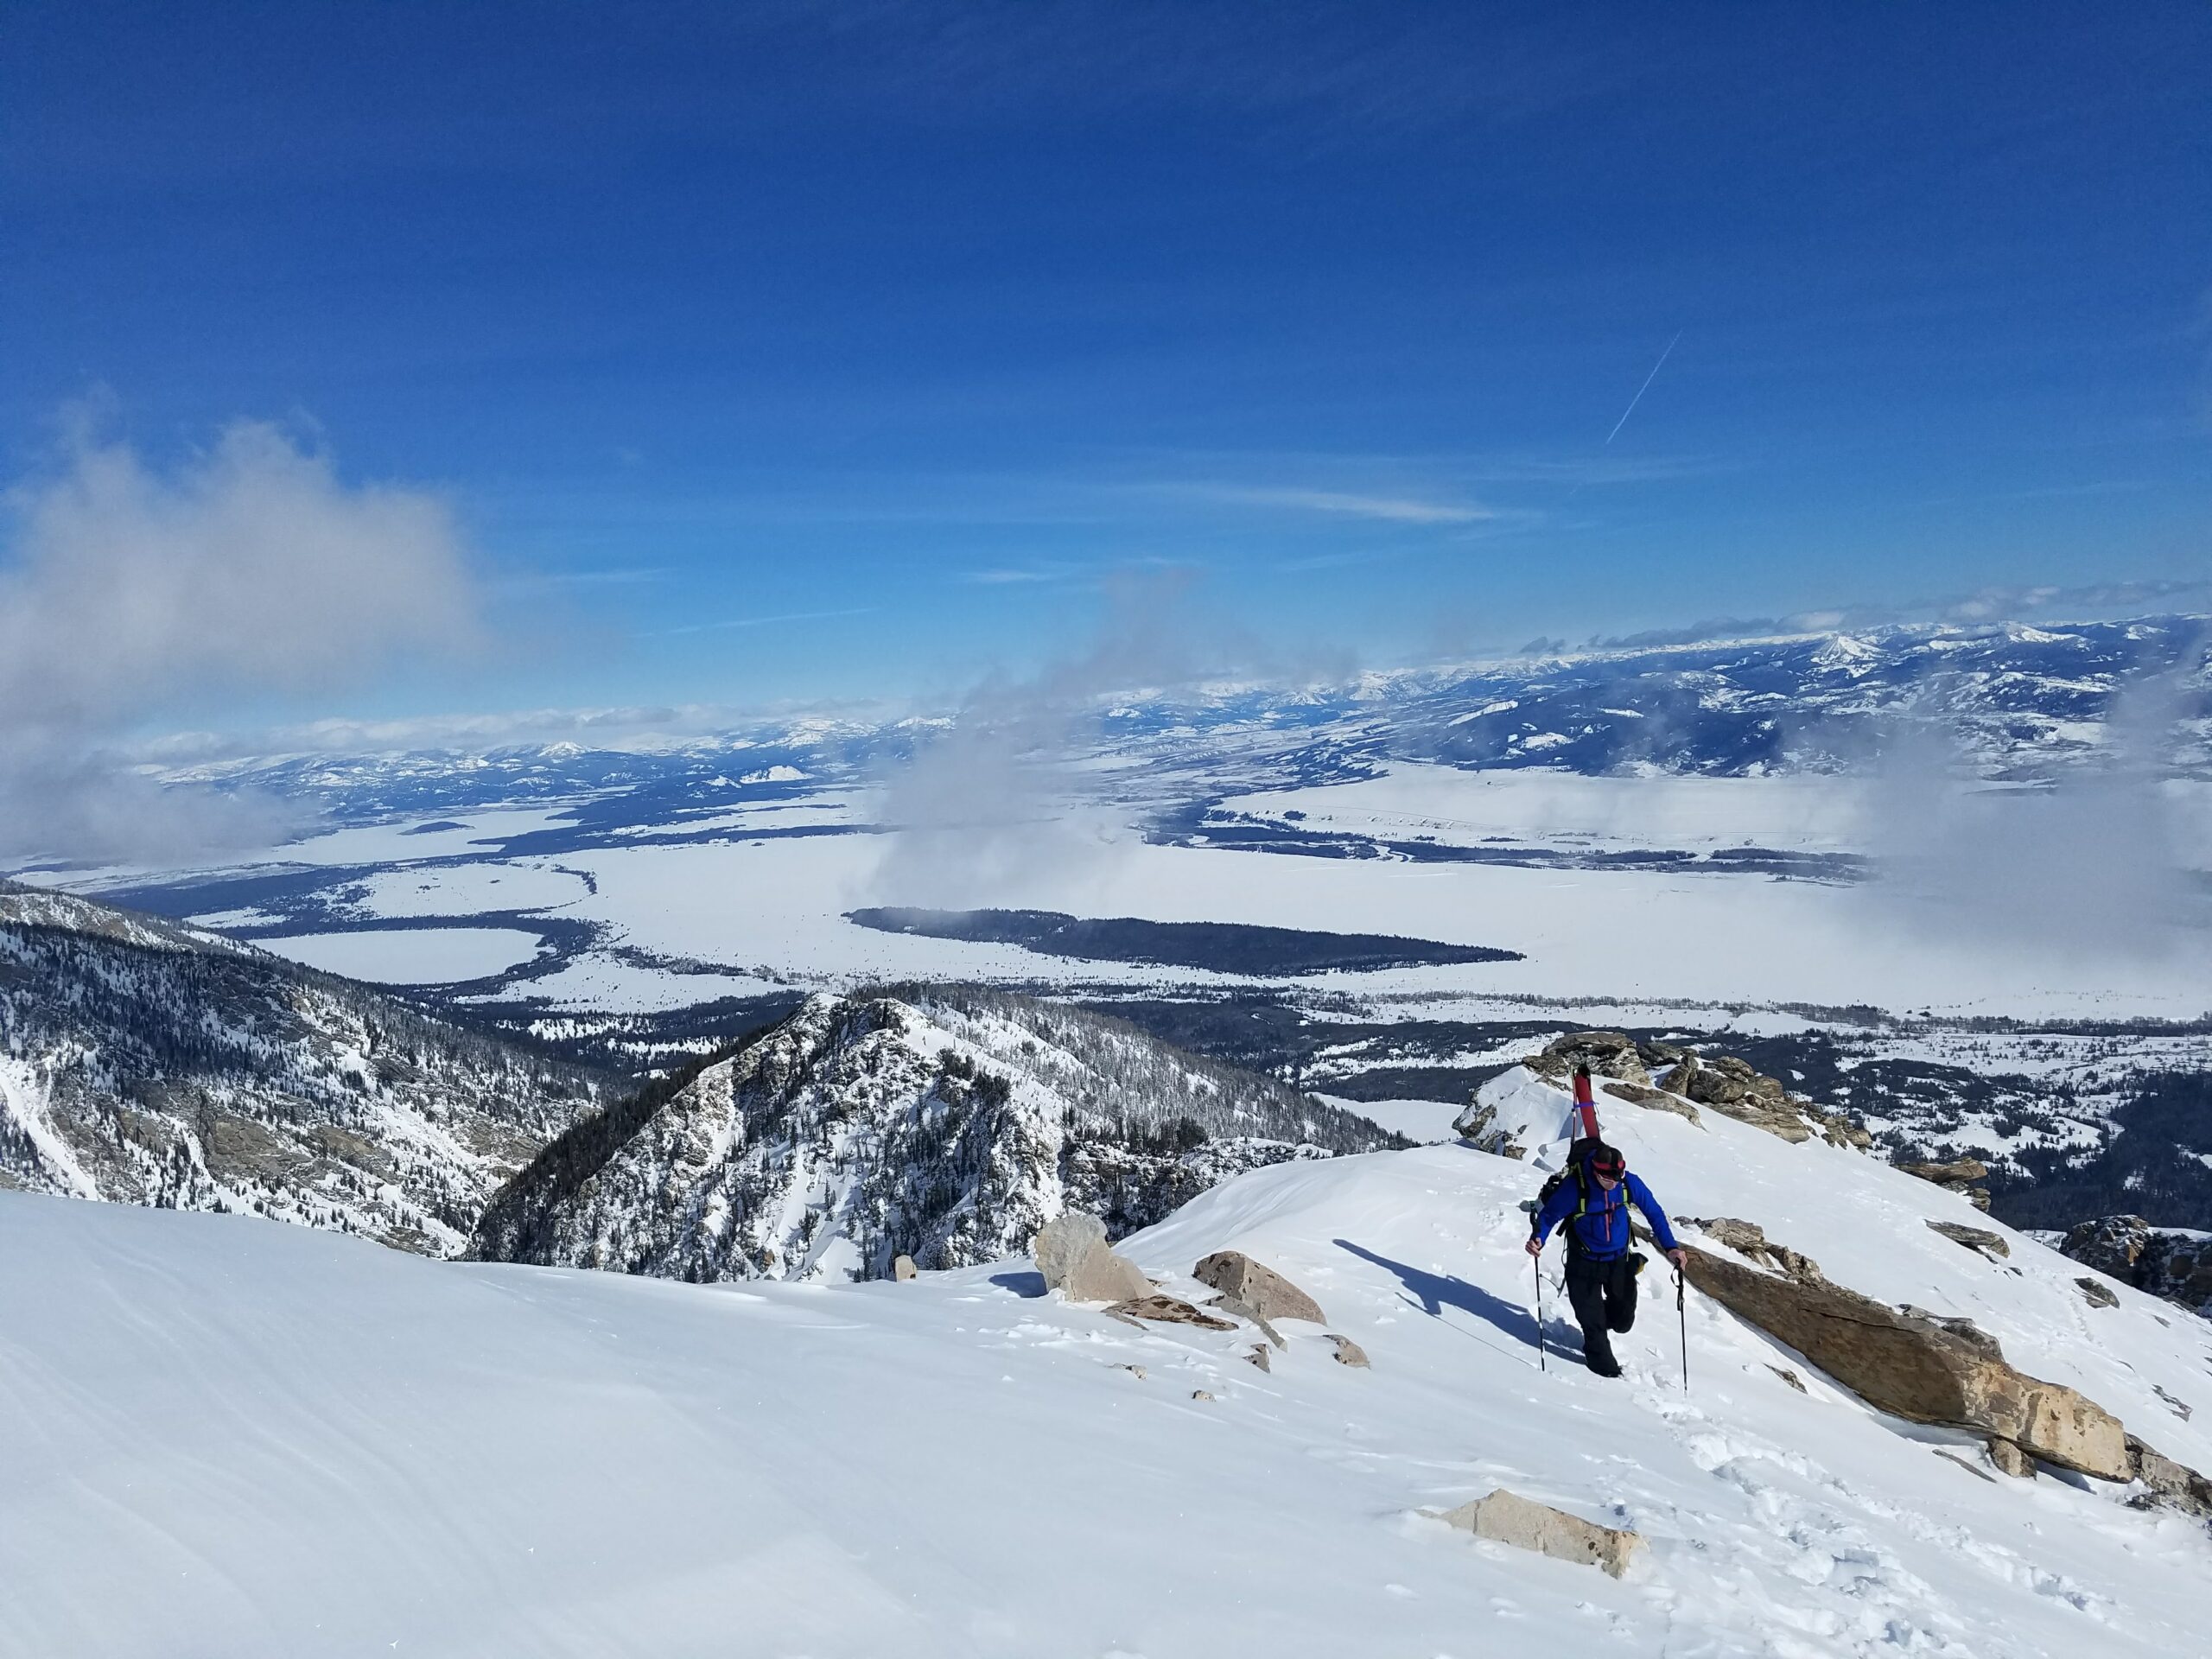
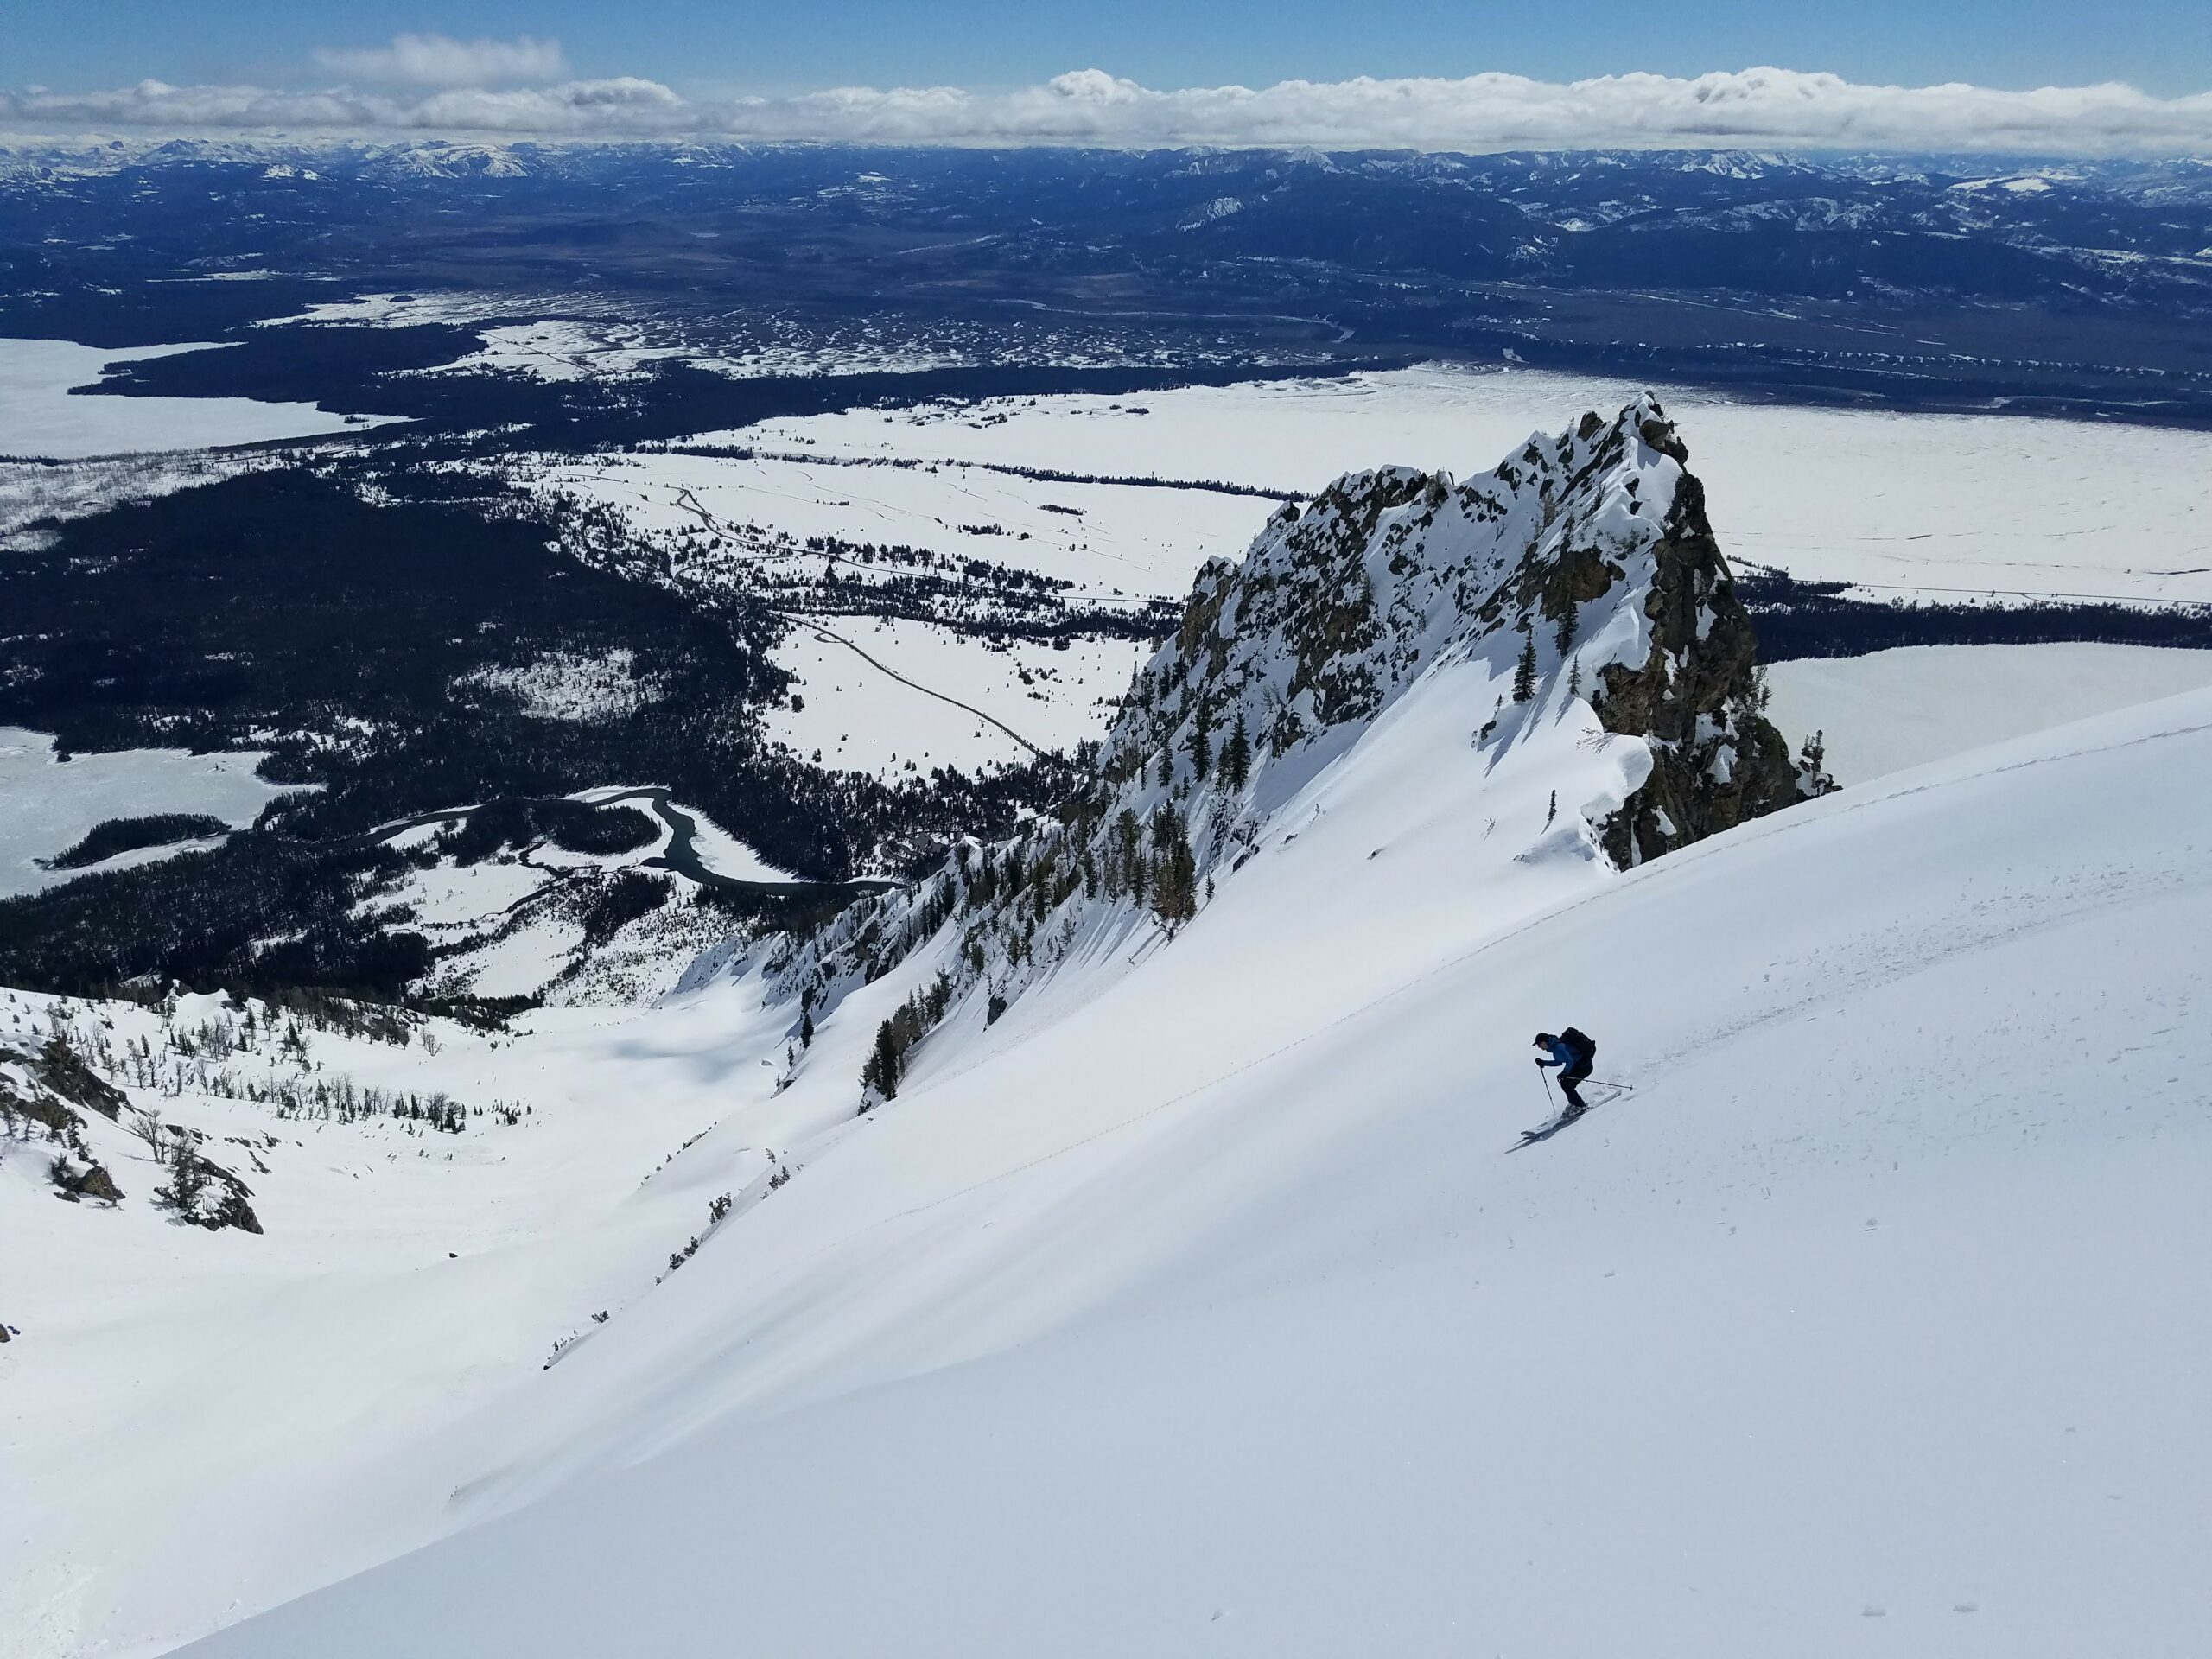
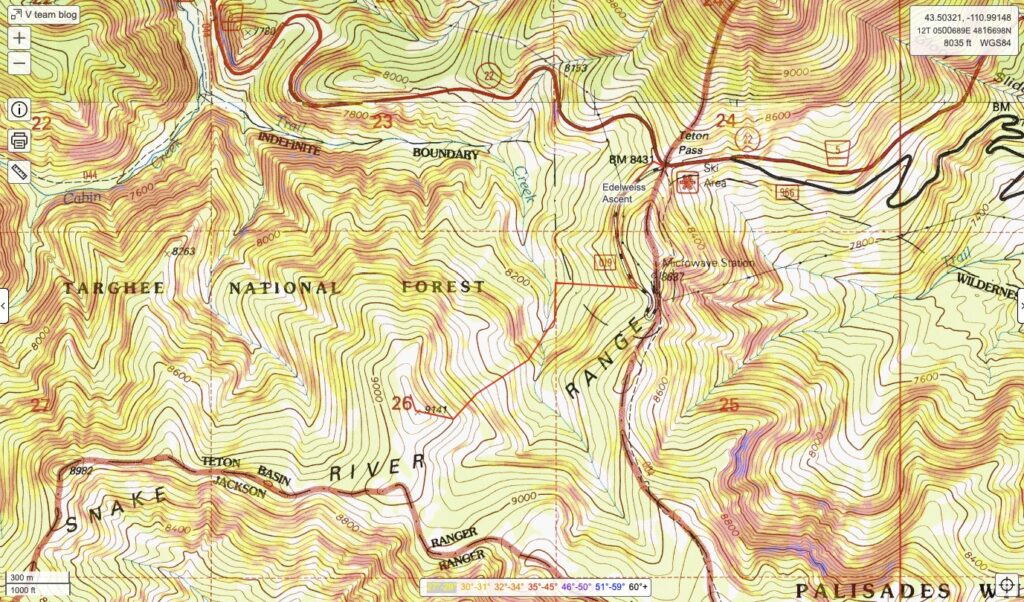
As a backcountry skier in the Tetons, there are few places more familiar than the top of Teton Pass. I’ll use Teton Pass as an example but would encourage you to repeat this process on your own home turf. Here I use Caltopo screenshots but any map or mapping software should do the trick.
First, pick out a tour you have done before. In this case, I’m going to plan a tour to Edelweiss on Teton Pass. Draw your normal route in.
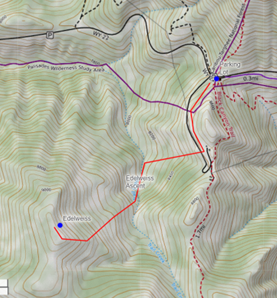

Identify the handrails and catching features that you already use to navigate. Our goal here is to train ourselves to navigate with what we see in front of us (efficient) instead of needing to pull out a phone or GPS (Sometimes necessary but inefficient). Put yourself in the terrain and try to imagine what it will look like. This process of visualizing and writing out your tours will take a little bit of practice to get down. Strive for detail in your descriptions of handrails and catching features. It will serve you well as tours become more complex and avalanche hazard enters the equation. Some examples of our tour to Edelweiss are below. (Starting at the summit parking lot).
- Follow the summer road. Uphill should be on the skinners left
- The second arrow is our catching feature. The summer road ends at a saddle and a gentle gully descends to the right. We’re going to ski down from here
- We descend to a south-to-north-running creek bottom, another catching feature. Head up the gully, passing under an opening with a small gully climber’s left.
- Lastly, we follow a broad ridge that is climbers left of a short but well-defined gully. This ridge is poorly defined at times but leads to the summit, avoiding the bowls/gullies/drainages on either side.
Tour planning 102
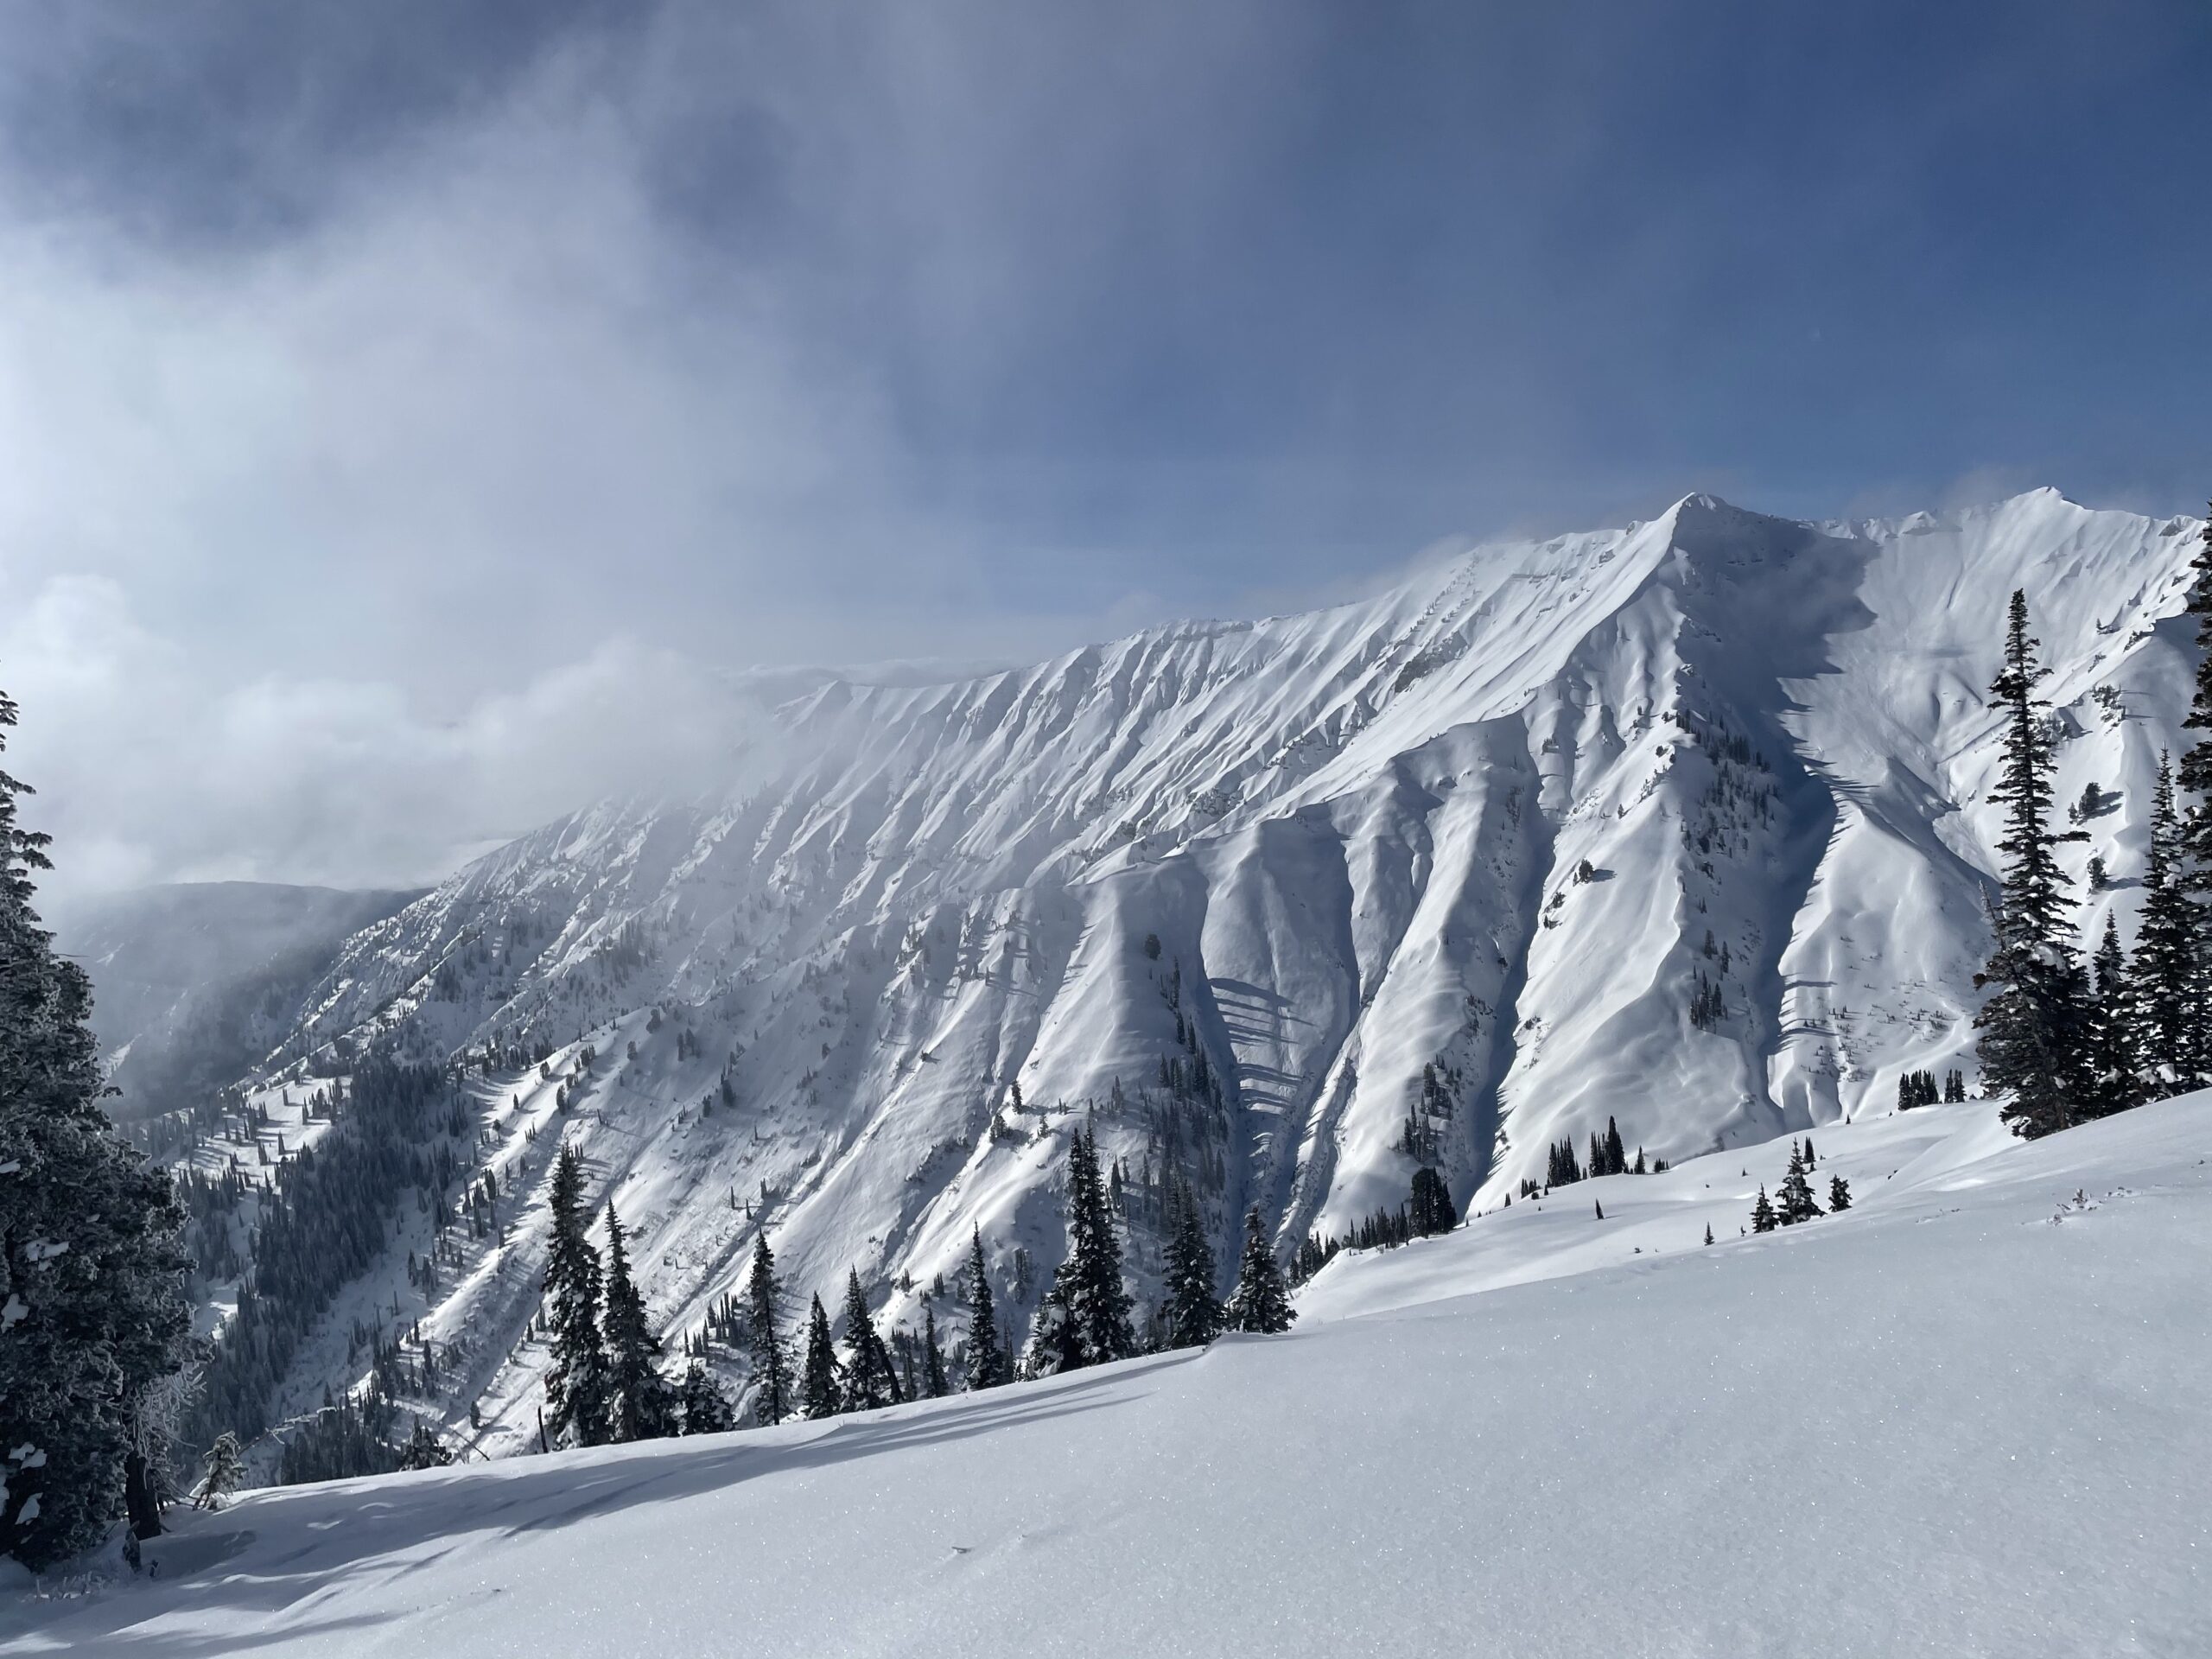
Incorporating slope angle and avalanche terrain
Now that we are maybe not going to get lost on our way to powder town, it’s time to make sure we also don’t get avalanched along the way. Start by looking at slope angles. Lucky for us, most mapping applications have a slope angle tool. This allows us to overlay angles in the terrain in a multicolored scheme like the one below. Make sure to check out the key at the bottom of the frame.
This tool can make avoiding avalanche terrain easy. Just stay out of it and avoid being under any colored slopes. This is easier said than done and even our tour of Edelweiss, a tour generally considered “safe” does not achieve that goal. This is due to it passing under and, potentially through, a couple of well-known avalanche paths.
Unfortunately, this nifty tool does have some big caveats and limitations. This shading can only be as detailed as the map. In our case, that is 40’ contours but in other areas, those contours may be 100’ or more. This could effectively disguise a small avalanche path or start zone as something much more benign. Even avalanche pros can make the mistake of trusting this too much. As with all of this, what you see on the map shouldn’t always be taken as gospel when things look a little different in the field. Remember, this is just a plan and plans can change with new or better information.
Adding an avalanche forecast
Starting with your local avalanche forecast is great but it’s worth remembering that it is just a well-educated overview of a large-scale zone, written by folks in a dark room at 5 am, and the forecasters are not going to come with you into the field to help with decisions. For that reason, I encourage backcountry users of all levels to start forecasting for themselves in conjunction with their local forecast. The goal is to be able to take these forecasts and turn them into a slope-scale nowcast.
A great first step in this is to use the avalanche problems from your forecast and overlay their distribution across your tour. For a good visual, check out this video for a how-to from my friends at www.mtnmapping.com. They have a huge library of tutorials for all the common mapping apps and come highly recommended. This video is for mapping a persistent weak layer but could be applied to any and all avalanche problems.
If you are forecasting for yourself on a familiar tour, this is also a great time to get detailed with your forecast and make terrain-specific changes. Really test your memory for details! For example, I may choose to upgrade or downgrade a windslab problem based on my knowledge of terrain-specific wind and loading/stripping patterns.
Timing
The importance of timing in tour planning varies greatly depending on avalanche problems, the type of tour, and the consequences of running late (or early). For this reason, it’s worth having a technique or metric to use to help plan. For the math nerds with spare time among us, the Munter Method is a great tool that can provide surprisingly accurate times. Fair warning, it has a little bit of a learning curve and is a blog post of its own.
For those less mathematically inclined or on simpler tours, a simple rate of ascent with a little bit of time added for skiing and transitions may fit the bill. Like our use, this rate can vary dramatically from as little as a few hundred feet an hour to a few thousand feet an hour depending on fitness and travel conditions. Many watches and apps will give you this data nearly instantaneously, but if you don’t use those you can reverse engineer a rate for yourself too. Just take the elevation gain of a tour and divide it by the time it took to complete it. For example, a tour with 3000ft of elevation gain that took 2.5 hours to complete ascended at roughly 1200ft/hr (3000ft/2.5hr).
This technique is great when used for tours with limited approaching, bushwacking, or route finding. That said, this will become less accurate when the tours become more complex or conditions more challenging, or if you stop for long lunches or repair breaks.
Putting it all together
Finding an efficient and effective tour planning system will take some time as well as some trial and error. You should have a plan B that works for all conditions. Sometimes this is a different, closer, or lower-angled slope and sometimes it’s just skiing back down your skin track to the car. Either way, when your goal is to learn or try out a new skill make sure you can bail easily from almost any point. Ease into these skills individually in familiar terrain and familiar snowpacks. Embrace the clunkiness you feel at first. It means you’re learning!
About The Author
Aaron Diamond
Location: Jackson, WY
Top Gear Picks: Skyline 166cm / Hyper V-Tail 160cm and 190cm
Instagram: @aarondiamond13
Aaron Diamond is an AMGA Certified Splitboard Guide and avalanche educator based in Jackson, Wyoming. He guides year round for Exum Mountain Guides and has guided technical ski and snowboard descents on various Teton summits including the Grand Teton, Middle, Teton, Nez Perce, and Mt Moran. In the summer months Aaron works as an alpine climbing guide on Denali and throughout the Greater Yellowstone Ecosystem. He is alway psyched to share his backyard with experienced and new backcountry travelers
In his free time Aaron enjoys spending time in the splitboarding in the Tetons, or exploring the lesser known areas of the Alaska Range with his friends. He has first descents in the Tetons, Andes, and Alaska Range, including unrepeated splitboard descents of the Ramen Route on Mt Hunter (14,573ft), Mt Foraker’s Sultana Ridge (17,400ft), The Fat Calf Couloir on Pico Polaco (5995m) and the SE Face of the Gilkey Tower (12,320ft).
Share this Post