
Everything You Need To Know About Climbing Skins
Share this Post
Having a good set of climbing skins and knowing how to use them can be the difference between an epic day of riding and a complete suffer-fest. We’ll be running you through their history, installation, maintenance, and everything in-between. Here’s Everything You Need To Know About Climbing Skins.
The History of Climbing Skins
Climbing skins have been around for a long time. Like a really long time. Indigenous folx in the Arctic regions would put seal skins on the bottom of their skis to efficiently maneuver the harsh-snowy terrain. Nowadays, we’re lucky to have a ton of options to suit different grip and glide preferences.
Snake Skins
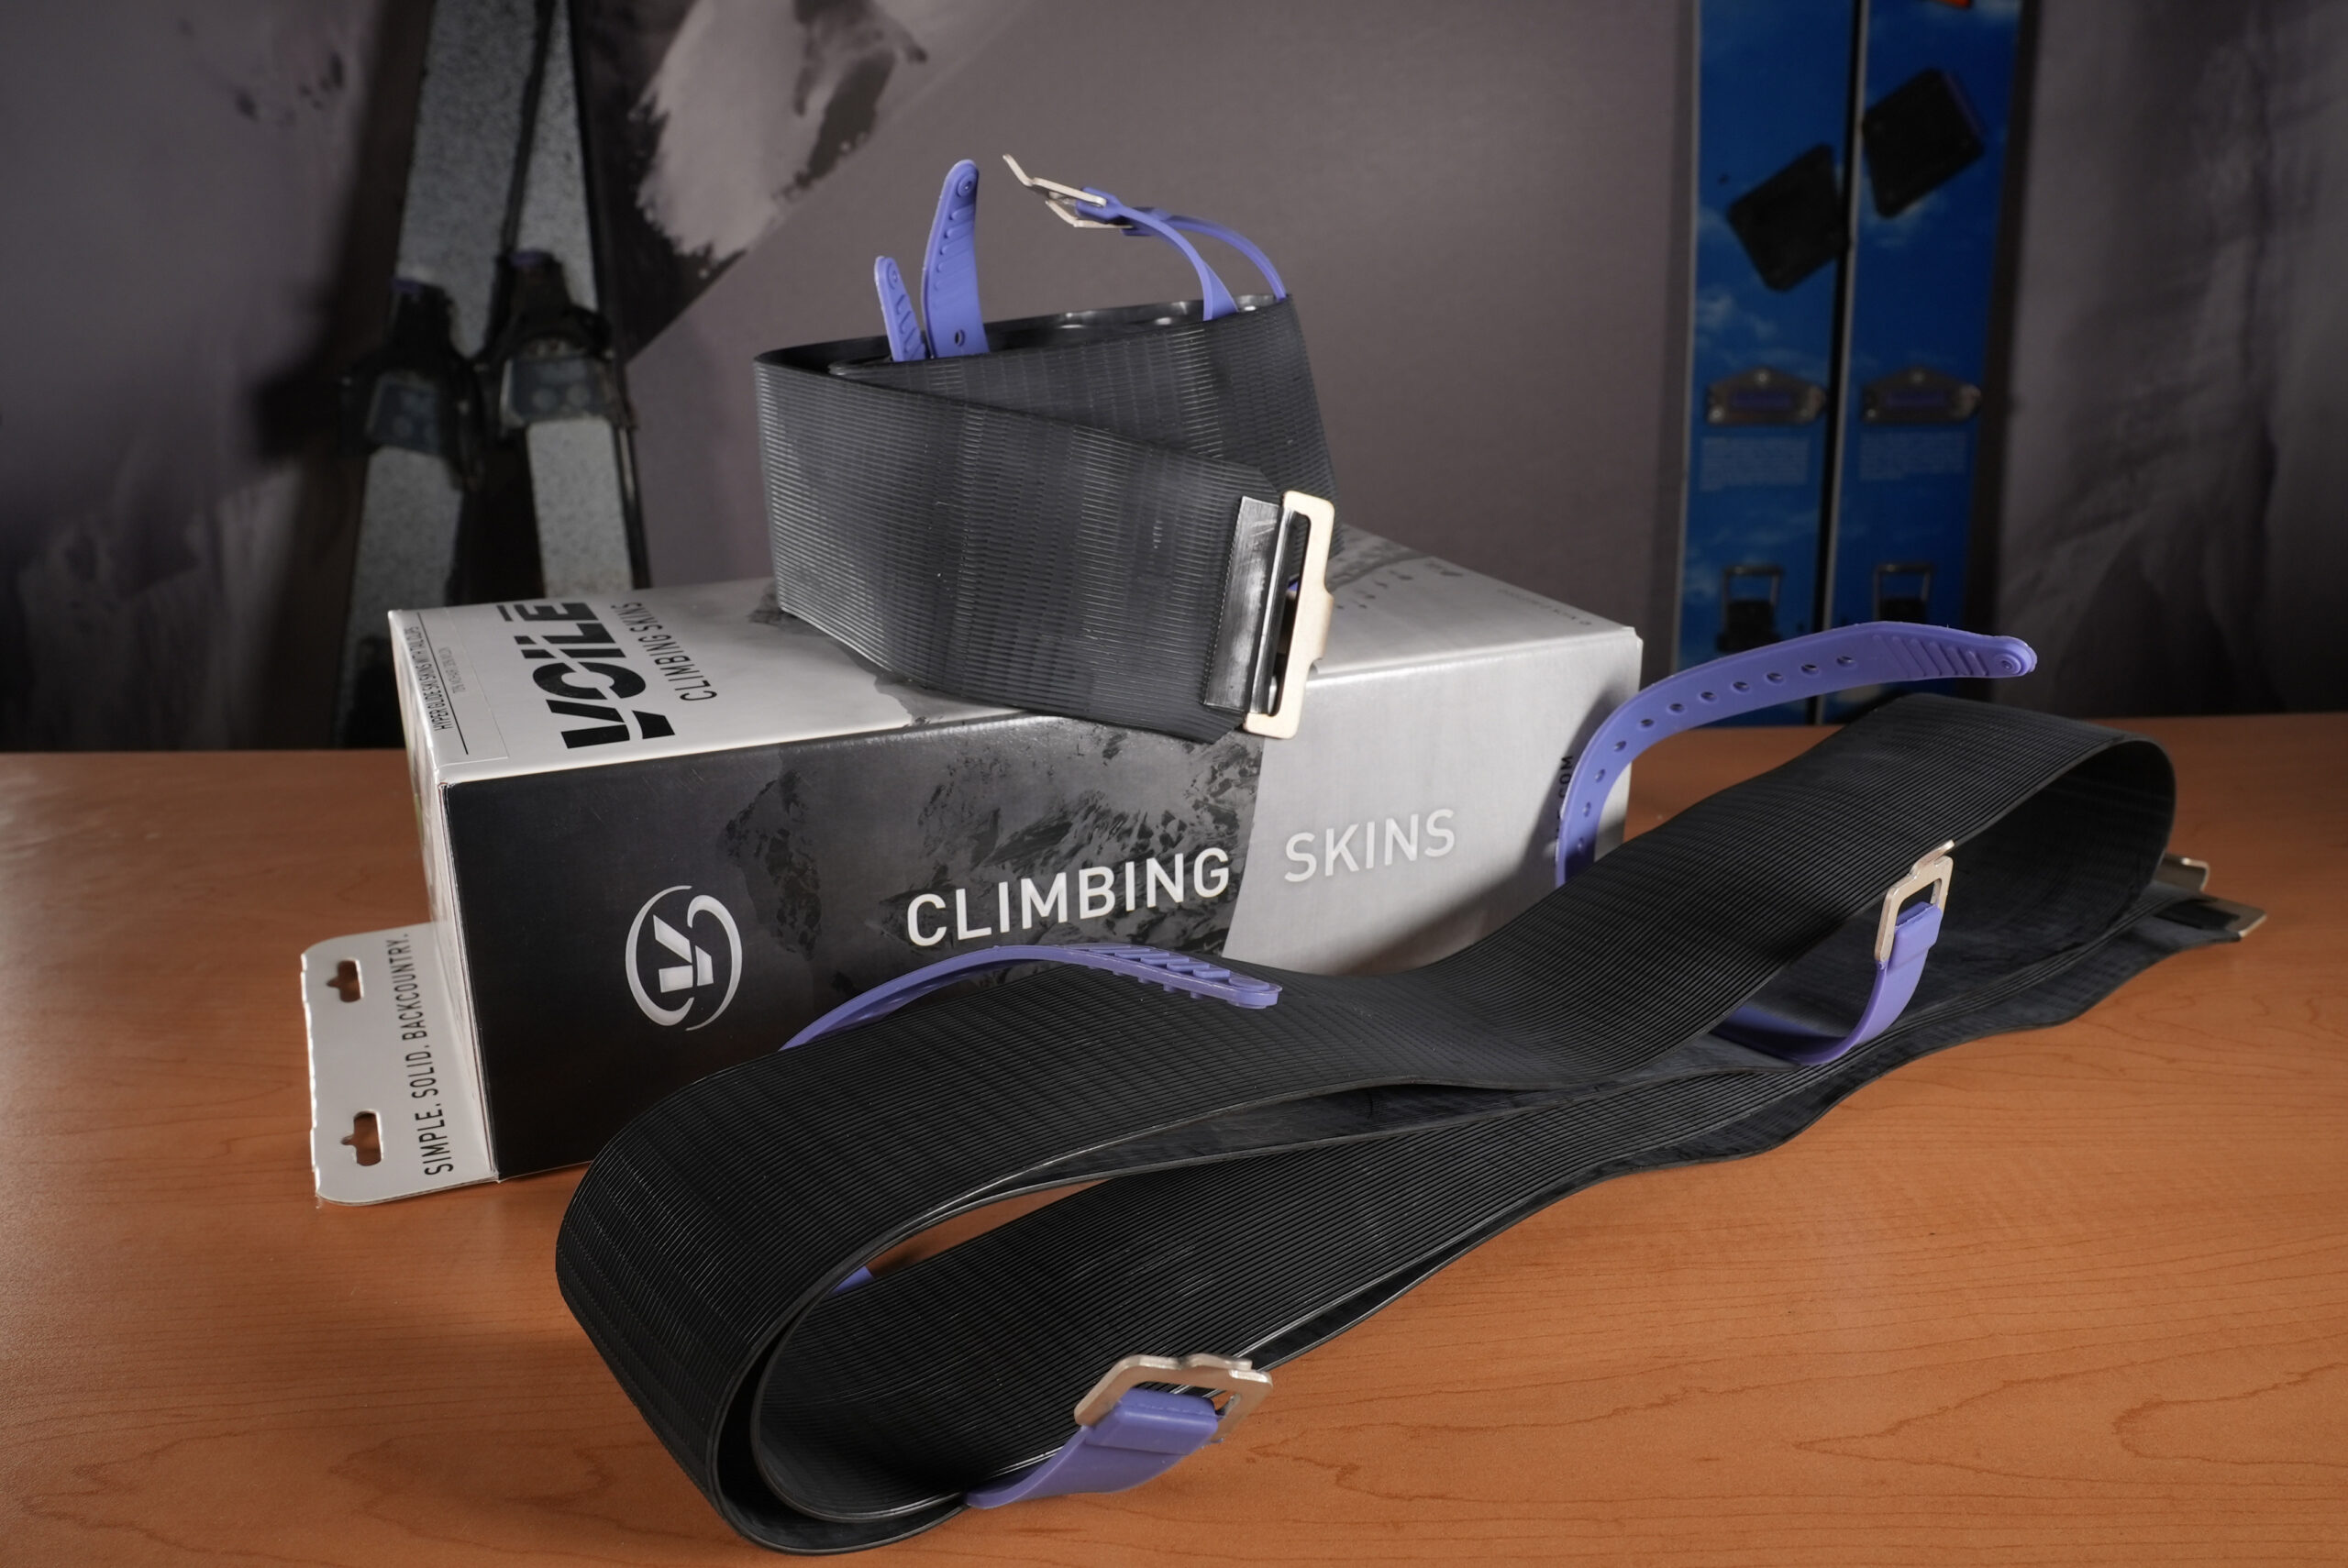
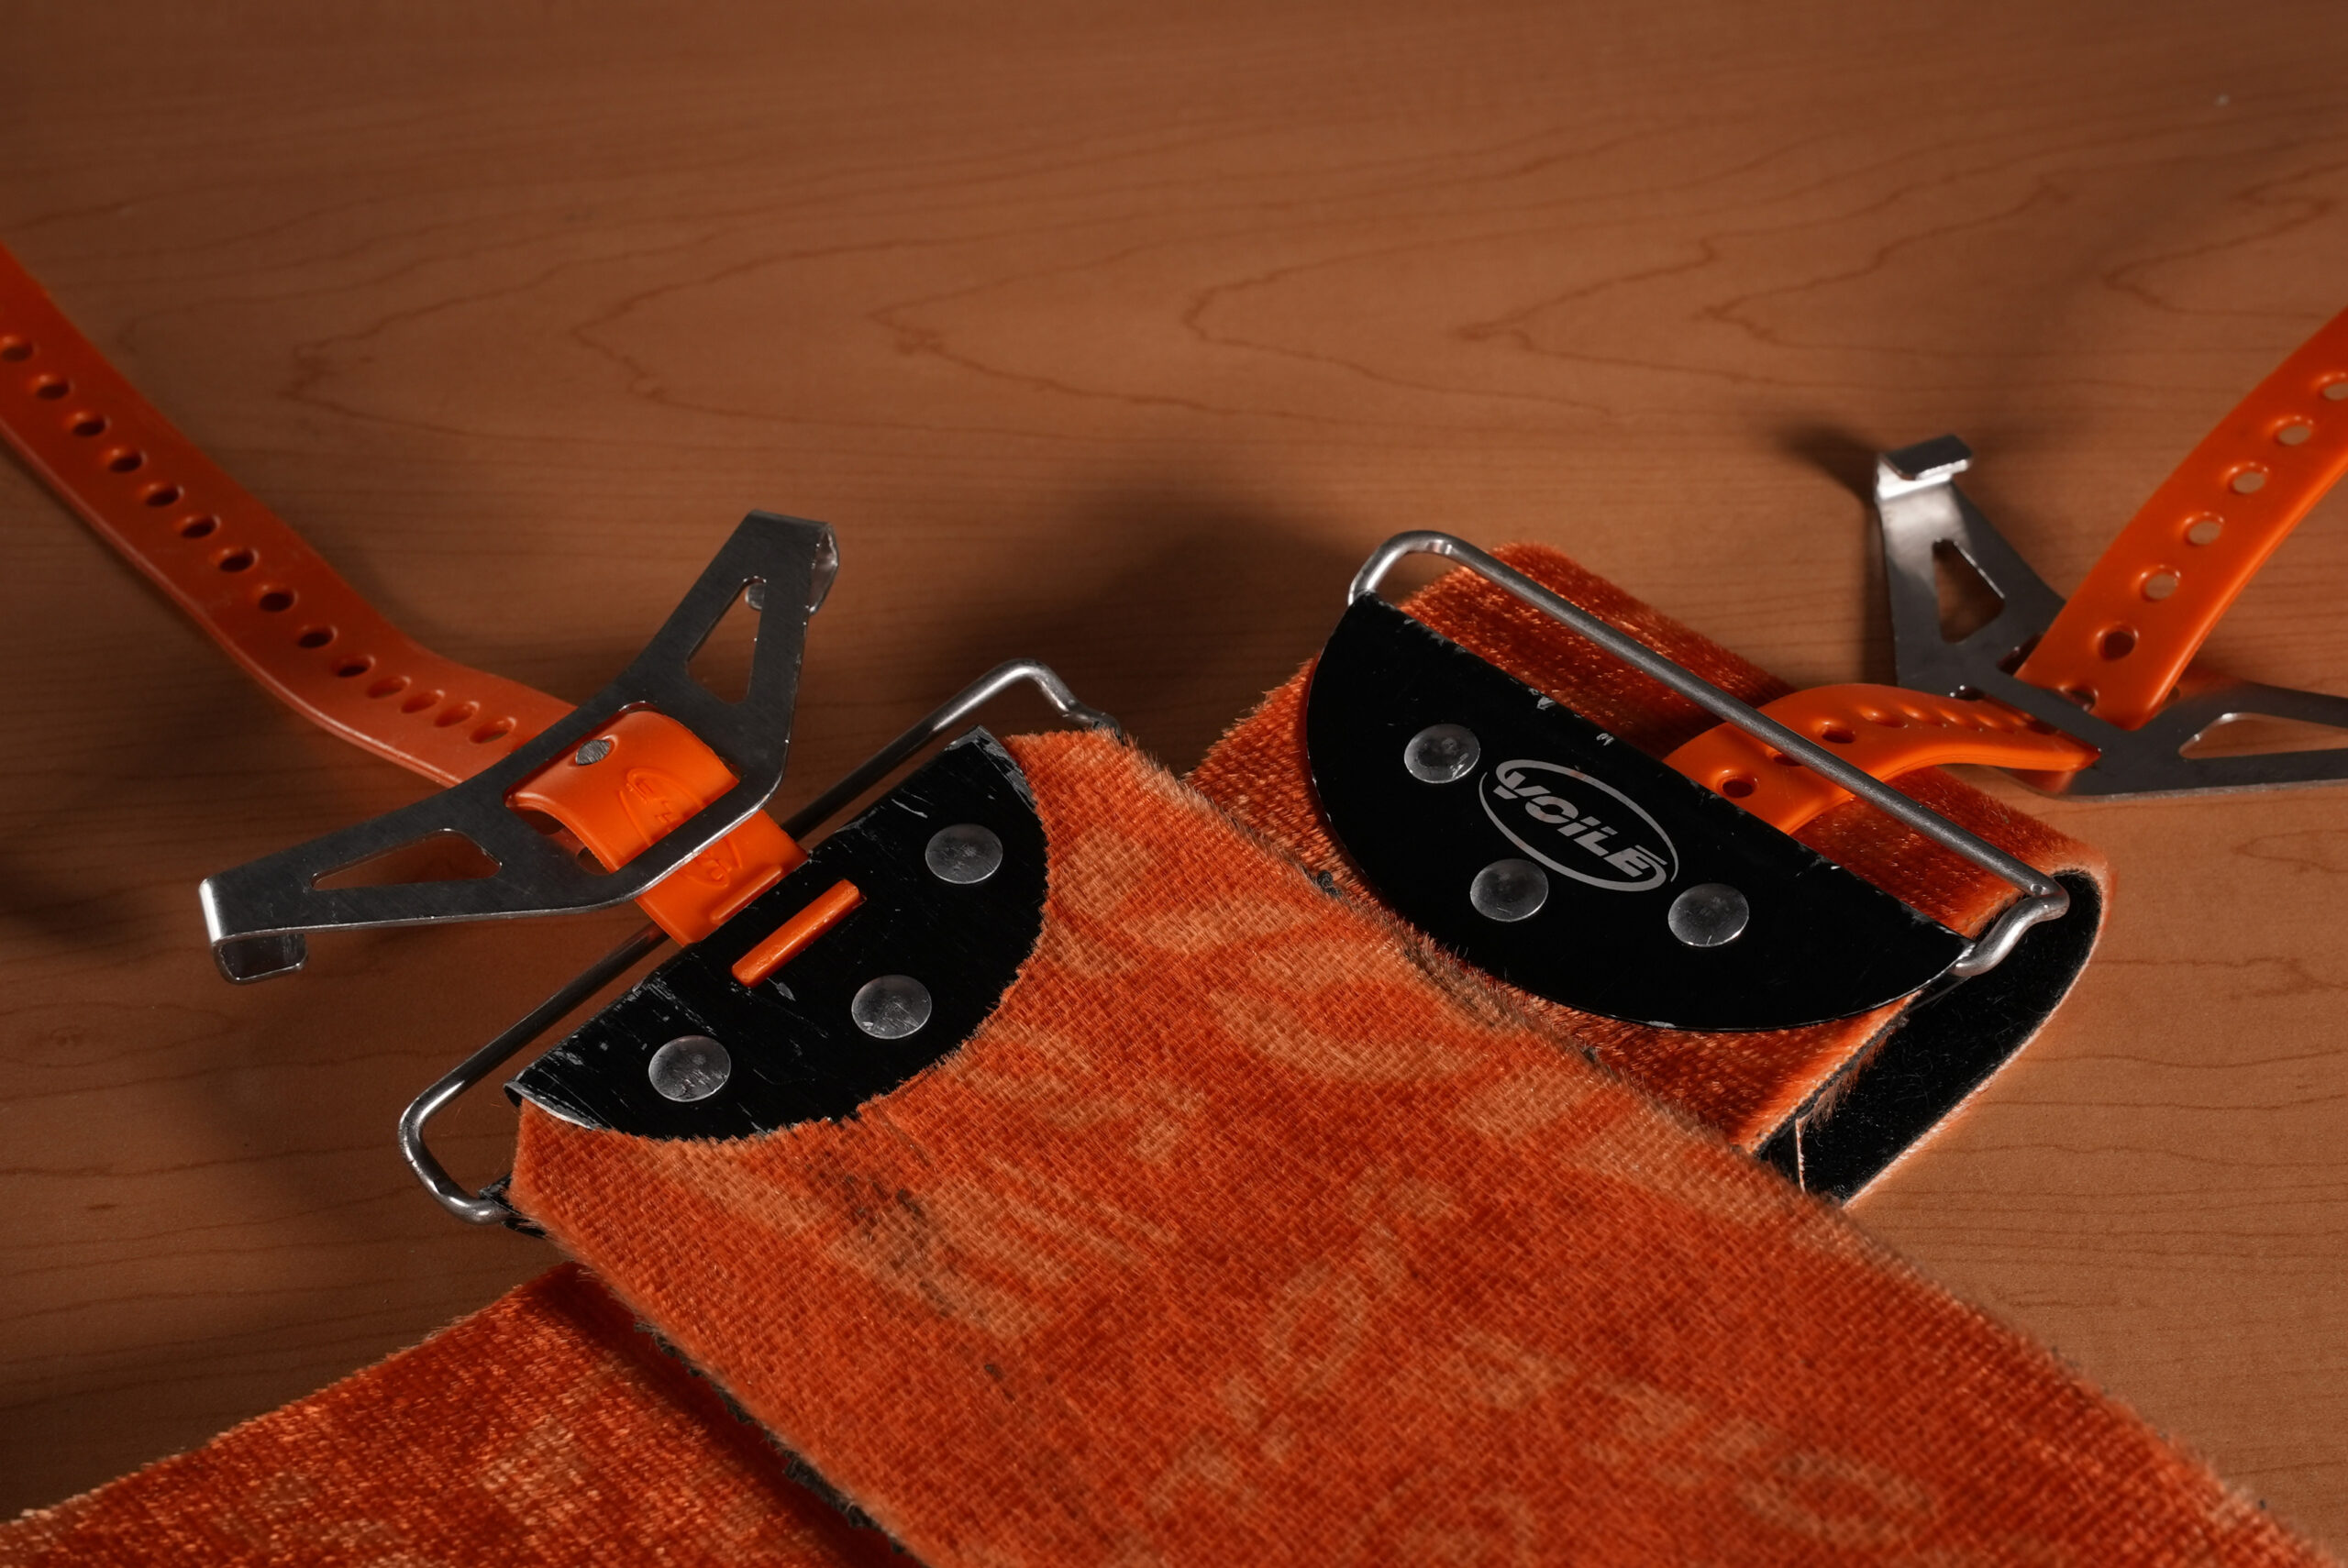
Voile entered the climbing skins game in the ’80s when we introduced “Snake Skins”. These used approximately 20,000 tiny polyurethan scales and “buckle straps” to help secure them to the ski. Fun fact: The buckle straps we used in the original Snake Skins were further developed into the infinitely useful Voile Strap!
Nylon Tractor Skins
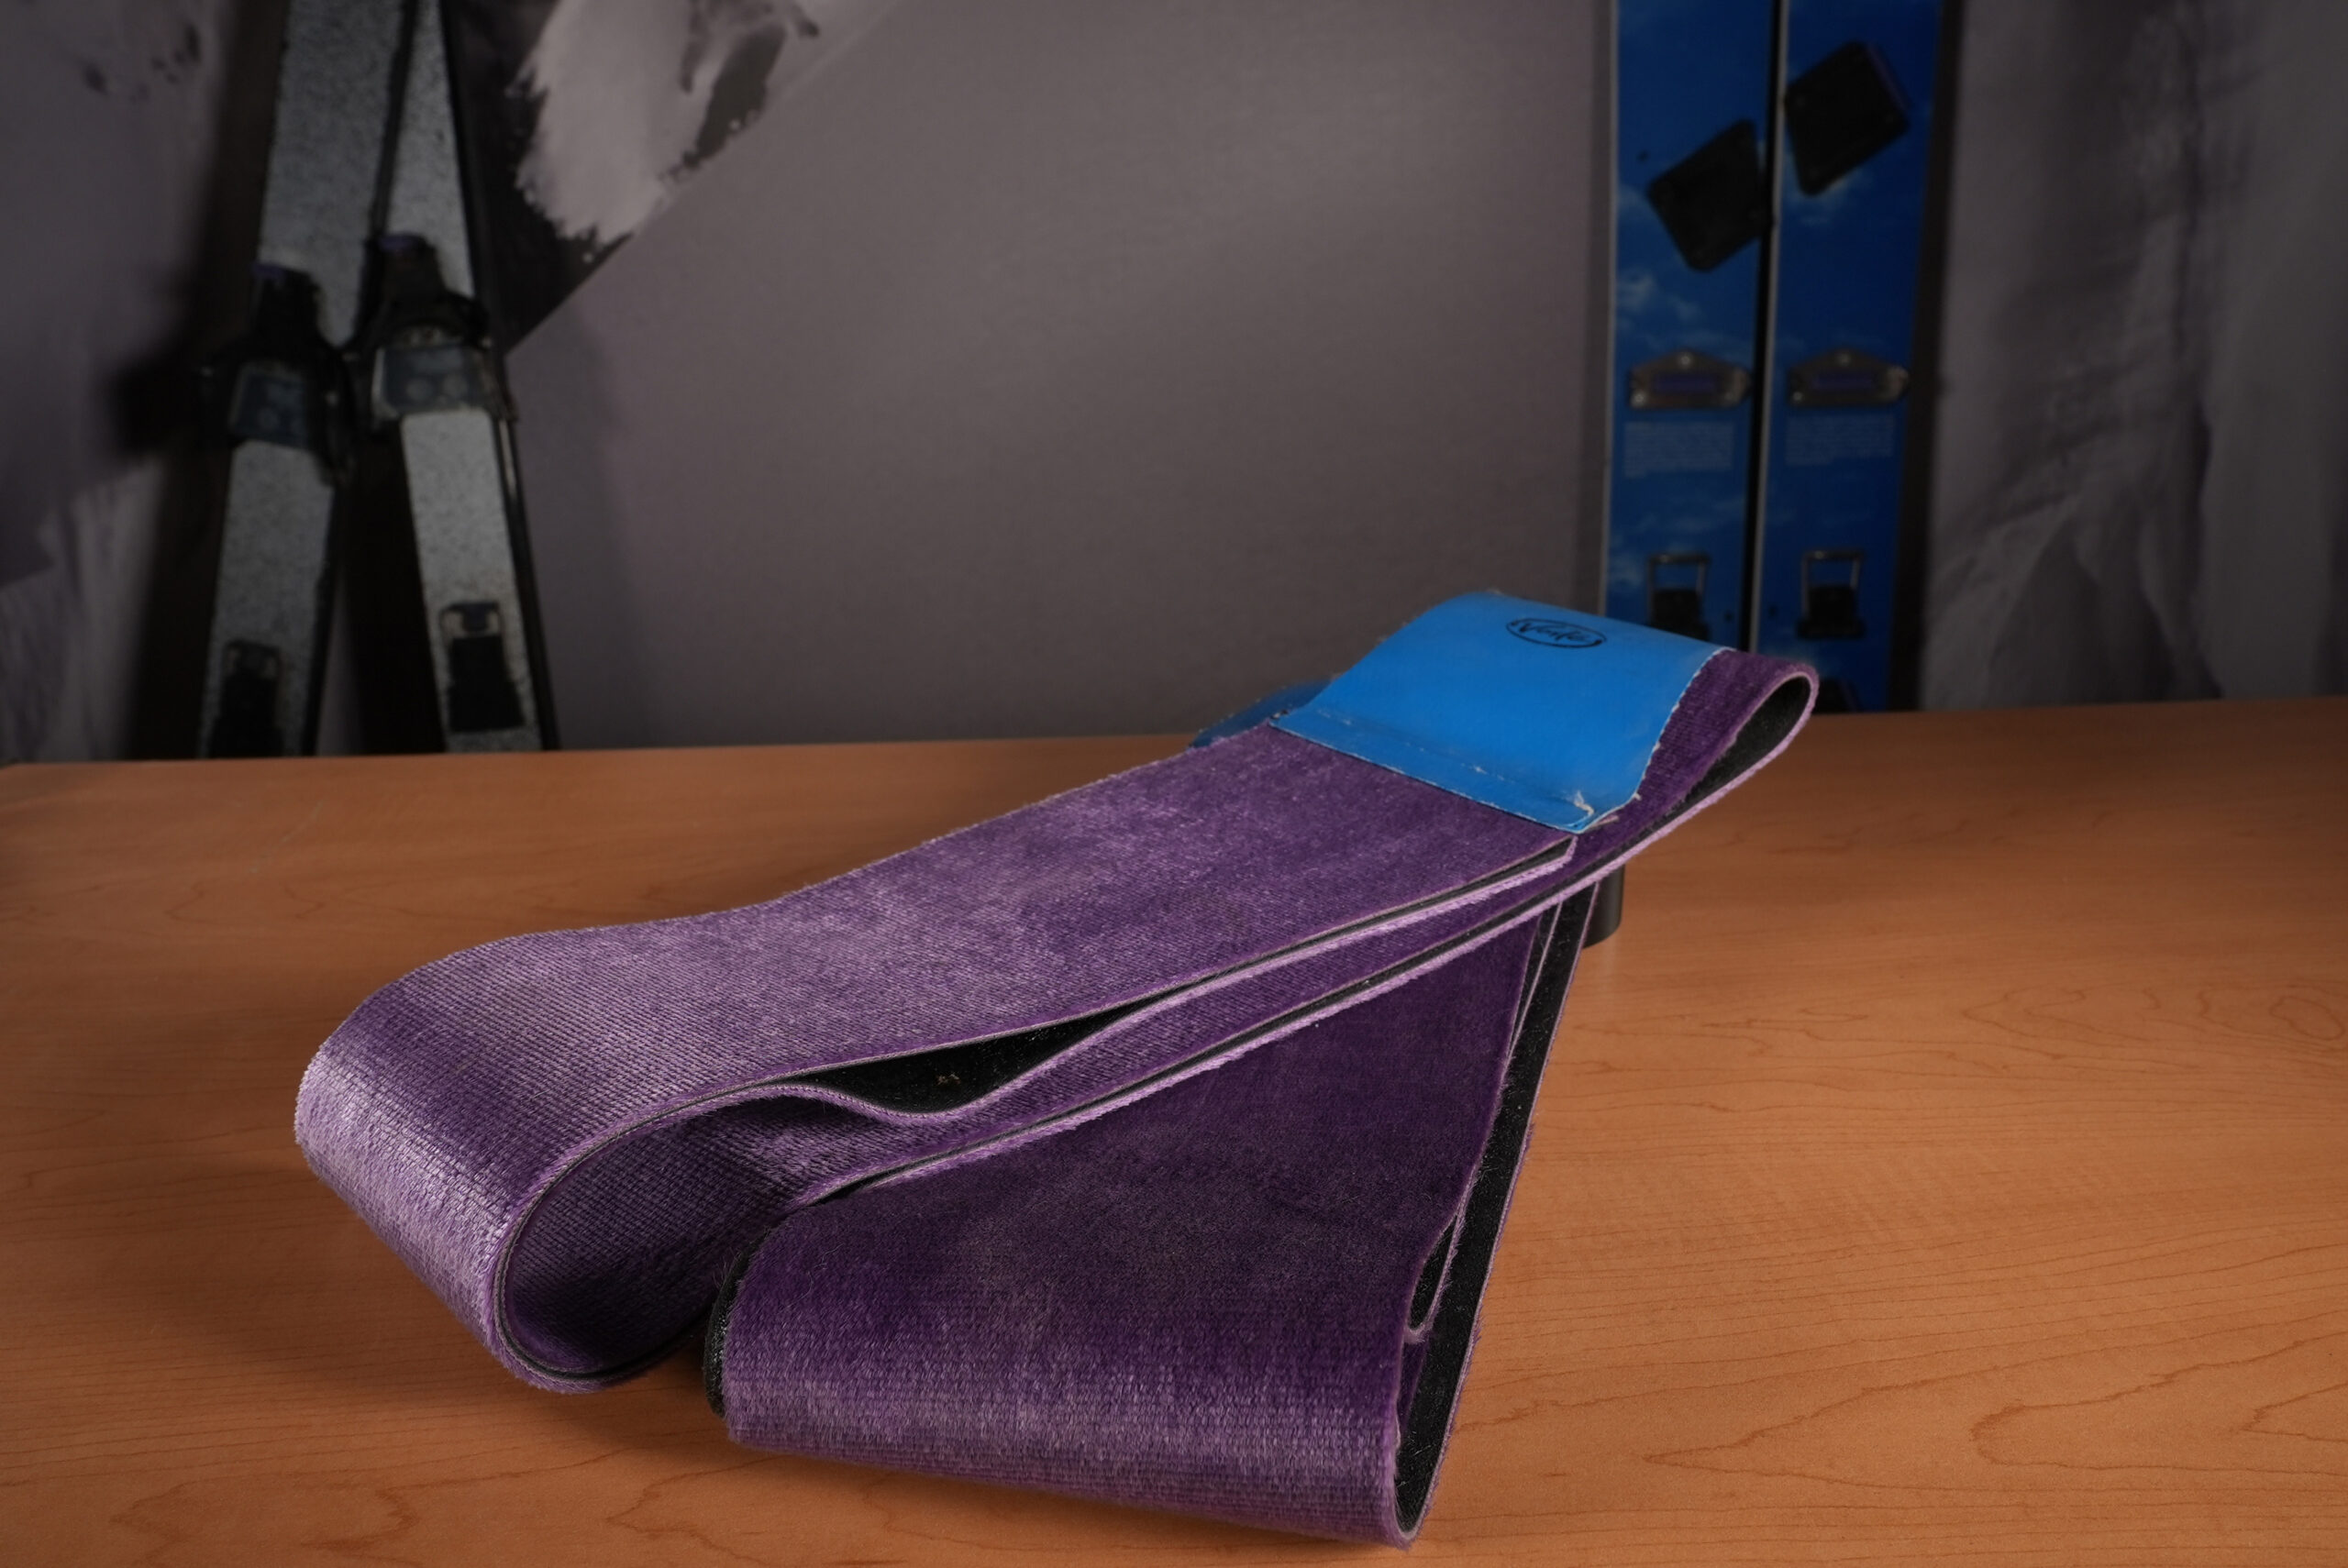
After the Snake Skins came “Tractor Skins”. Our Tractor skins were the first-ever Splitboard-specific skin option. These were full-nylon synthetic, and had glue on the bottom rather than straps. Nylon skins offer the maximum amount of grip but a minimum amount of glide. Nylon is still popular in areas where skin tracks are steep, icy, and every ounce of grip matters.
Hyper Glide (Hybrid) Skins
Mohair = Glide
Nylon = Grip
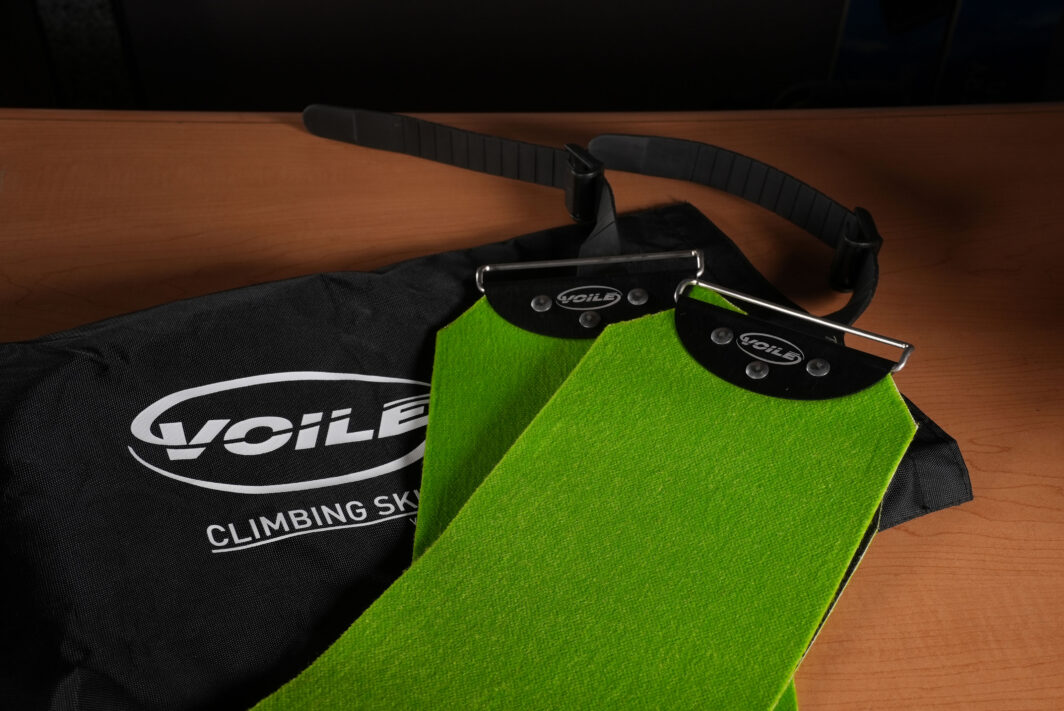
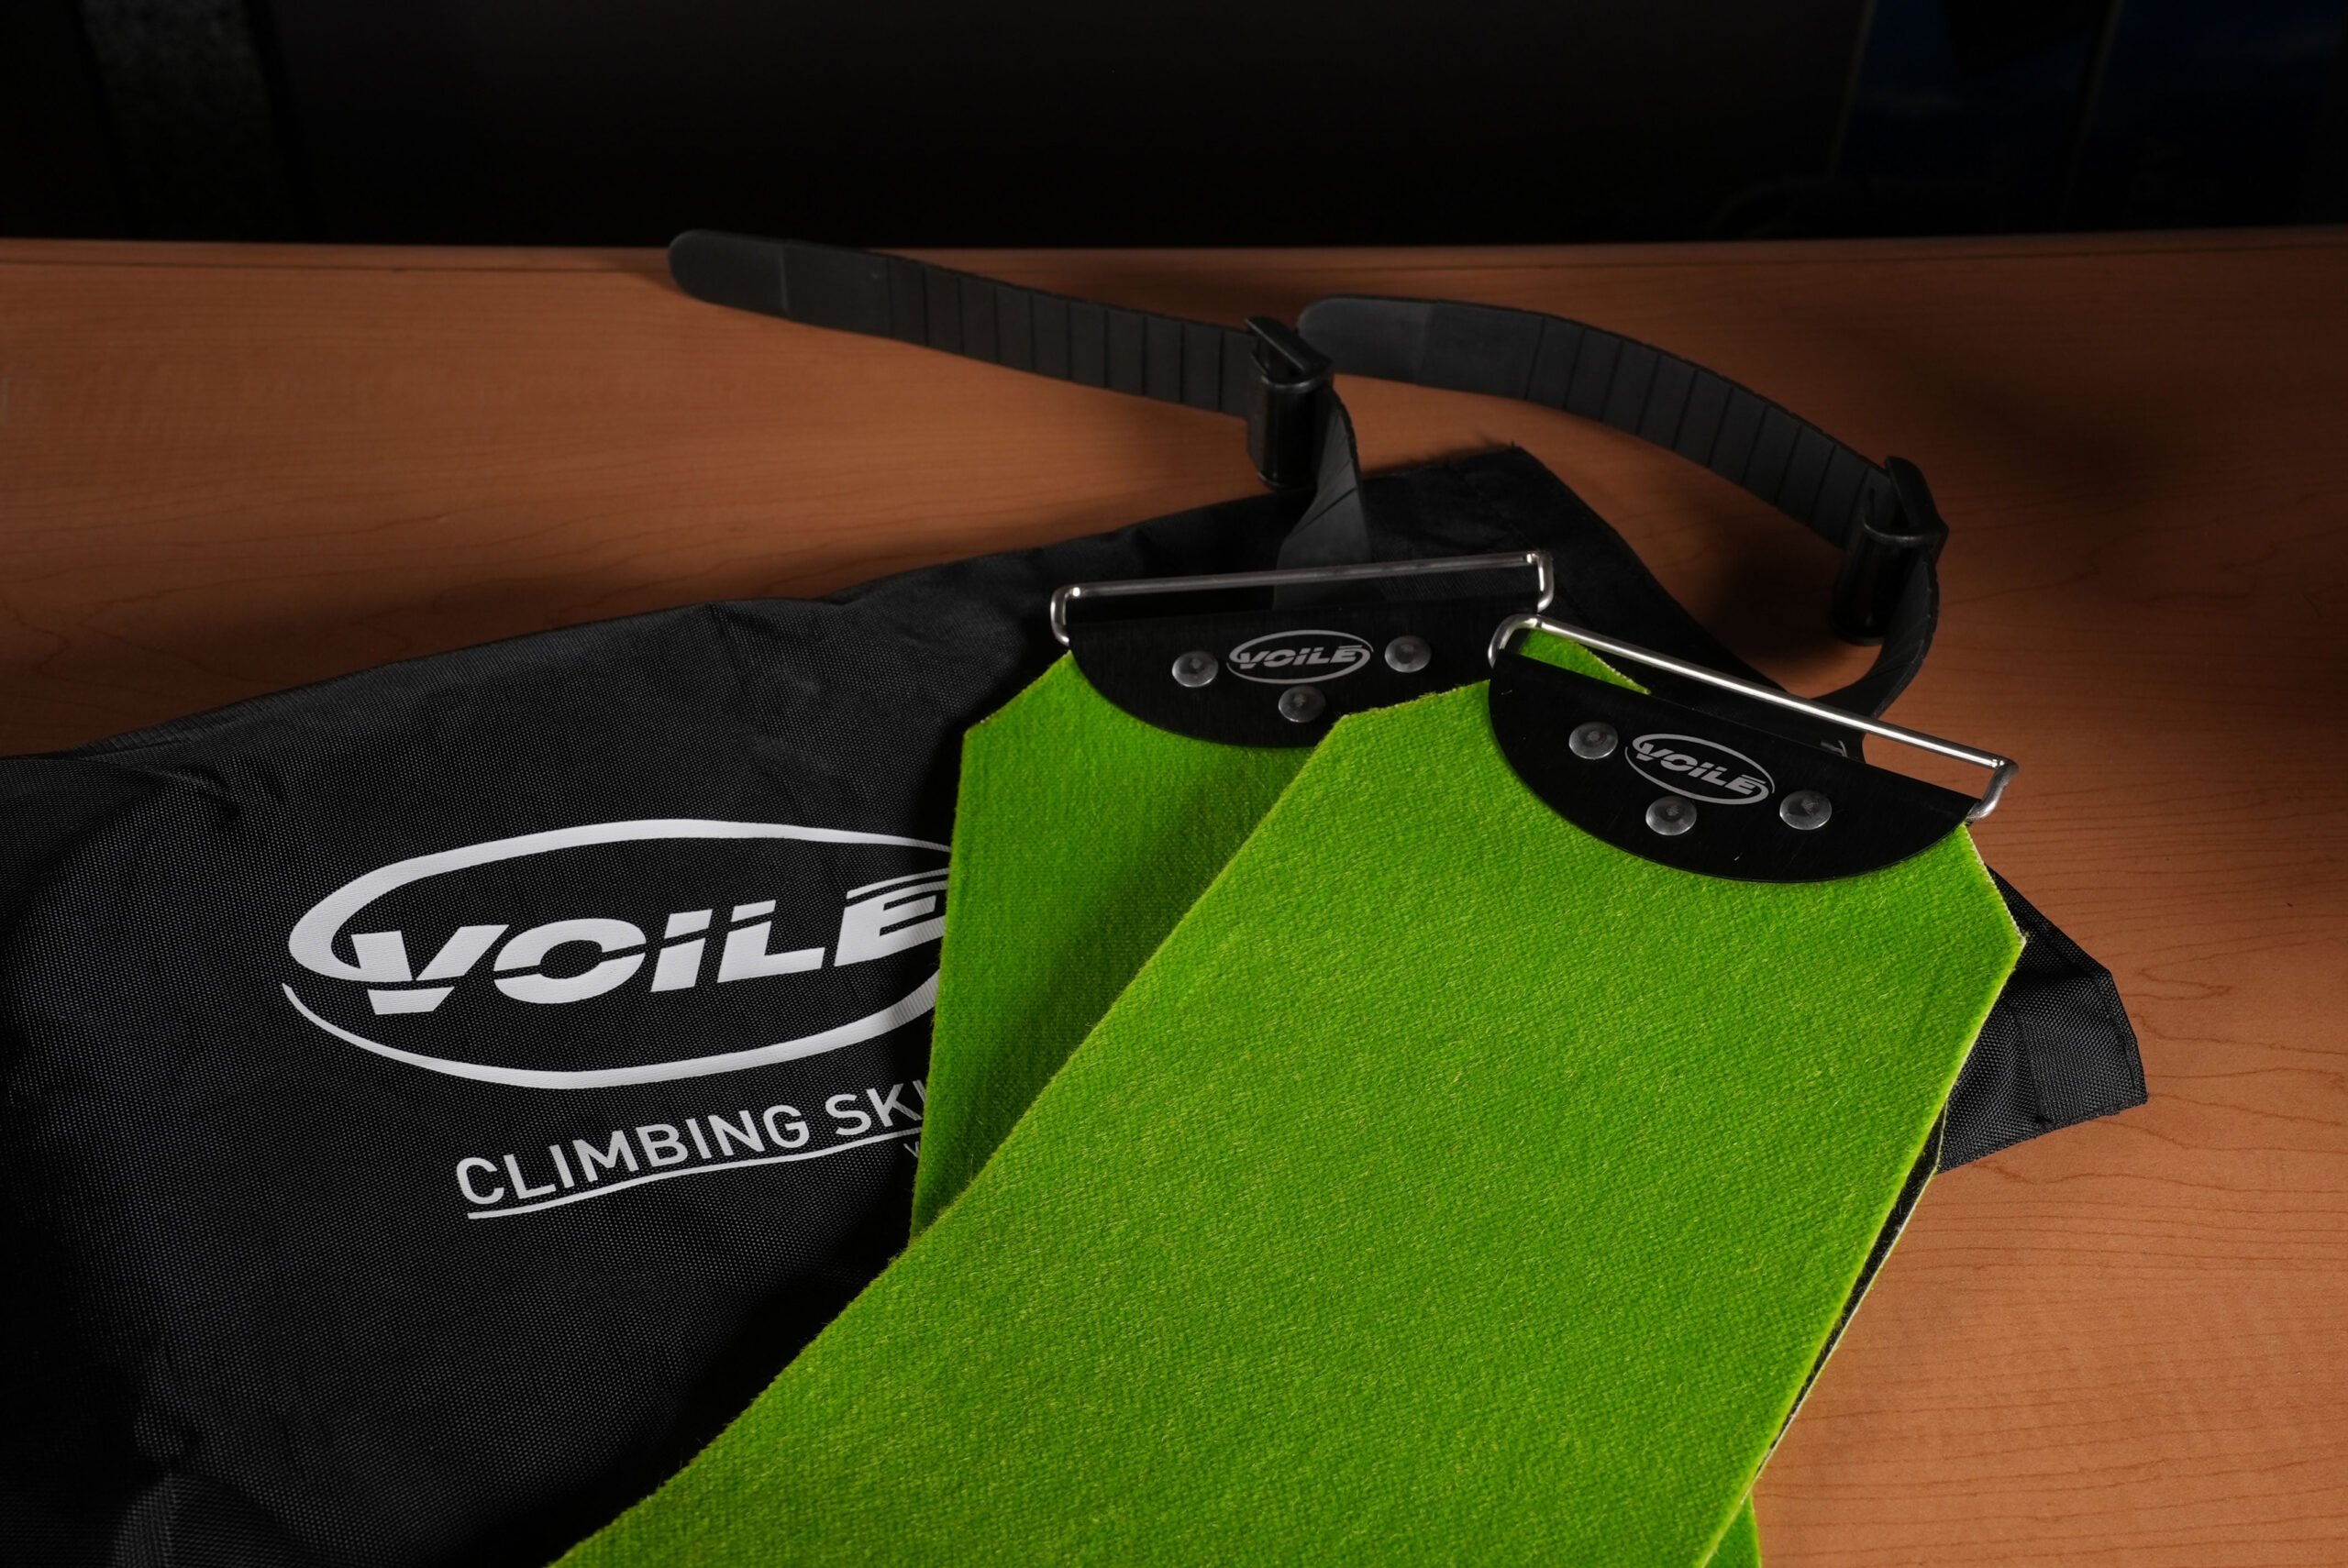
Nowadays, there’s a wide variety of skins on the market. This means you can tailor your skin selection to the terrain you commonly find yourself in. There are climbing skins made from 100% Mohair for maximum glide, 100% Nylon for maximum grip, and our personal favorite, Nylon-Mohair hybrids. We partnered with Pomoca to make our Hyper Glide Skins which feature a 70% Mohair- 30% Nylon combo to give you the best of both worlds. These skins have a 100% waterproof membrane, and a hydrophobic treatment to prevent snow from sticking to the bottom. As you can see we’ve come a long way!
How To Install Your Climbing Skins
It’s common to open a box of new climbing skins and suddenly feel the pressure of ensuring that you tailor them to your skis properly. To help relieve that pressure, Voile Hyper Glide skins come with the tip/tail connectors already attached. All you have to worry about is trimming them to match the profile of your ski.
For instructions on how to trim your skins, you can reference the instruction sheet below. You can also go to 02:00 in the video to watch how it’s done.
Trimming Ski Skins
1.) Check the base of the ski to make sure it is clean and free of debris or excessive wax as this can damage the skin adhesive. Any time you wax your skis, always make sure you’ve thoroughly scraped and brushed your ski-base before applying the skin.
2.) Peel the protective film from the adhesive side of the climbing skin.
3.) Place the skin tip-loop over the tip of your ski.
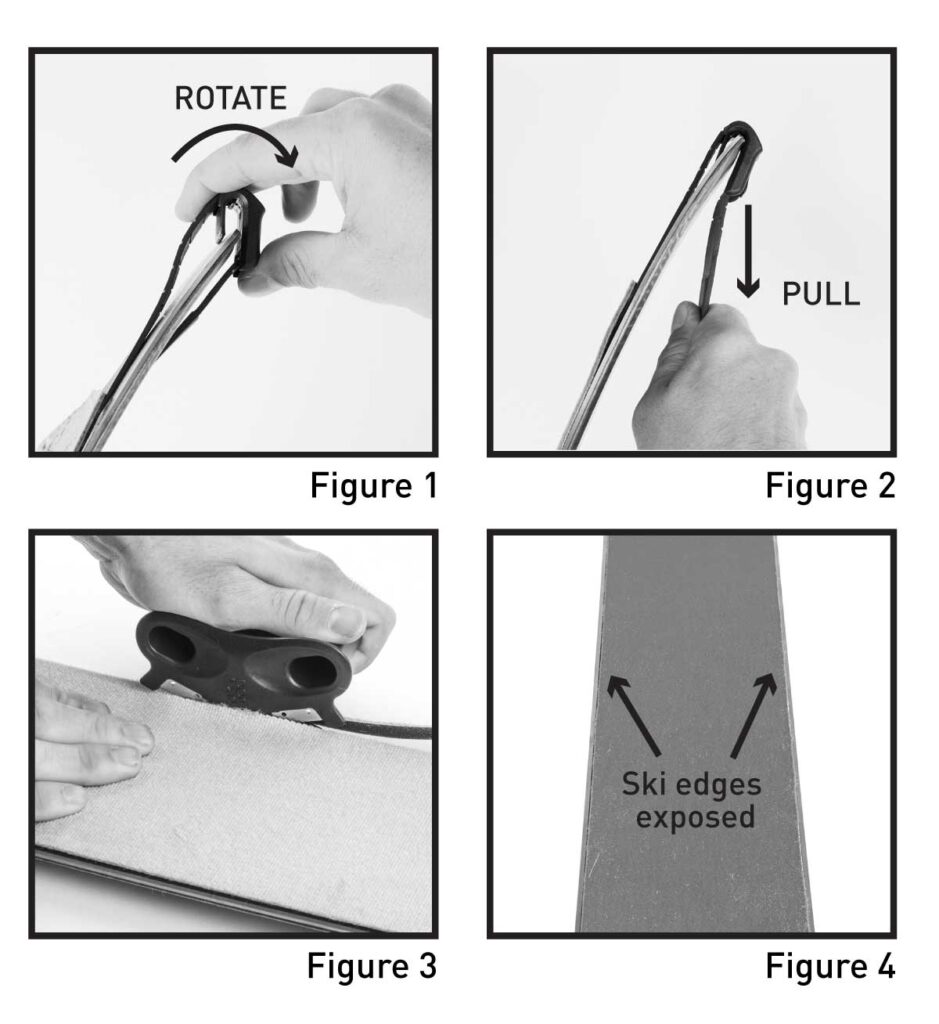
4.) Thoroughly adhere the entire length of the climbing skin, centered to the ski base. Rotate the tail-clip and secure it to the tail of your ski. Pull the tail strap to remove any slack and fully tension your skin. (see Figures 1 and 2)
5.) With the skin facing you—start from the tip of the ski and trim the excess skin using the provided skin trimming tool. (see Figure 3)
6.) Starting from the tip of your ski, trim the other side of your skin.
8. The edges of your ski should be exposed for the entire length of your ski, when the climbing skin has been properly trimmed and applied. (see Figure 4)
9.) Repeat for other ski.
Climbing Skin Care and Storage
• Even short descents on hard snow can damage the plush side of your skin.
• In cold and/or wet conditions, it’s recommended to store your skins inside of your jacket between ascents to improve adhesion.
• Never expose your skins to extreme heat or UV light (such as inside a car). This will damage the skin adhesive.
• Never store your skins outside in cold temperatures (such as a hut trip). Always bring them in to dry.
• Use tweezers to remove any debris that may stick to the skin adhesive.
• Always thoroughly air dry your skins between use. Never apply direct heat to dry your skins, this can damage the adhesive.
• Once skins have dried, stick the skins together—adhesive side to adhesive side. Fold and place in the provided storage bag.
• Always store your skins in a cool, dark place for the off-season.
• Should the skin adhesive become damaged, it is possible to re-apply glue to extend the life of your skins.
Climbing Skin Maintenance
There are a few things to keep in mind when using your climbing skins that can lengthen their lifespan significantly. Overall, your biggest concern should be protecting the glue and the fabric of your skins. The easiest way to do this is to make sure to store your skins properly between uses. You want to fold each skin onto itself (glue to glue). This is important because exposing your glue to outer elements (dust and dirt) can lead to contamination and premature failure.
Drying Them Out
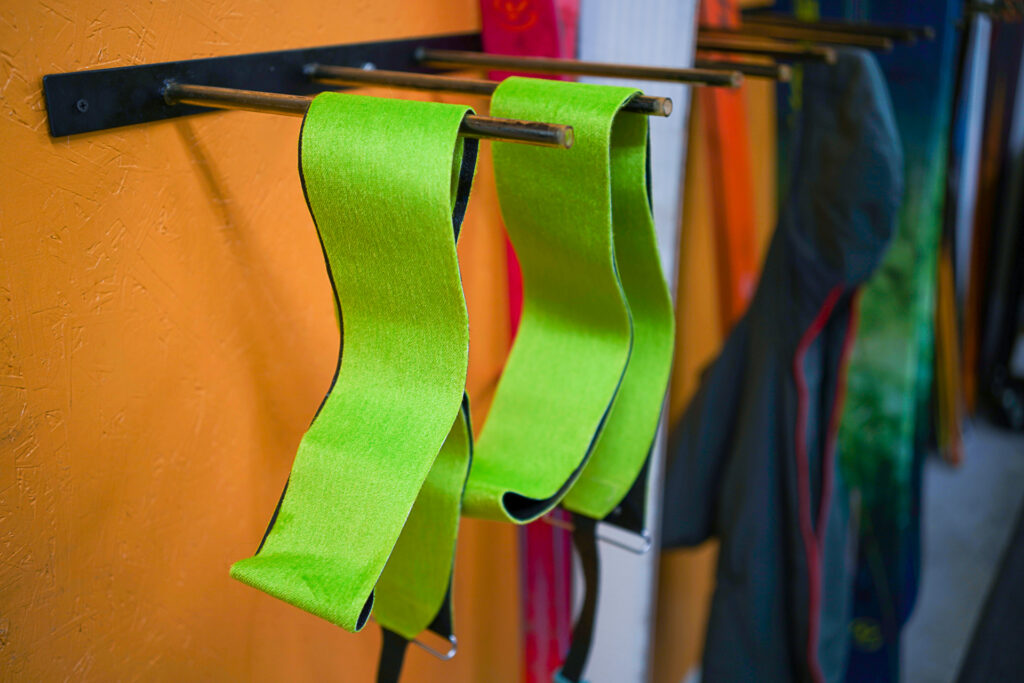
Be sure to dry out your skins after every use. Similar to ski boots, gloves, outerwear, etc… it’s important to make sure that they stay dry and warm for longevity. To do this, you should fold your skins together (glue to glue) and drape them over a rack or towel rod after each use.
We DO NOT recommend using skin-saver sheets with climbing skins. We’ve seen these sheets enmesh themselves to the glue and lead to damage. Glue to glue is the way to go!
Glue Maintenance
If your glue gets contaminated with dirt, pine needles, or miscellaneous forest debris, it’s not the end of the world. While contamination should be avoided, you can pick out debris with tweezers if it become necessary. Once your skins are contaminated beyond repair you can bring them by our retail shop here in Salt Lake to get them re-glued.
One last piece of advice in regards to skin maintenance is to always keep some skin wax around for those hot spring days. Glopping can occur when wet snow sticks to the bases of your skins when touring on hot days. Waxing your climbing skins can prevent this from happening and is an easy DIY process that can be done at home, or in the field. We like to use Black Diamond Glop Stopper since it can easily be applied by rubbing on the fabric of your skins by hand. That said, there are plenty of options out there including “iron on” skin wax, so find what works best for you.
Tips and Tricks
While the best way to become a climbing skin pro is getting time behind the wheel, here are a few general tips and tricks that might help you get there faster. You may want a visual to help grasp these so we recommend following the timestamps to see them performed in the video.
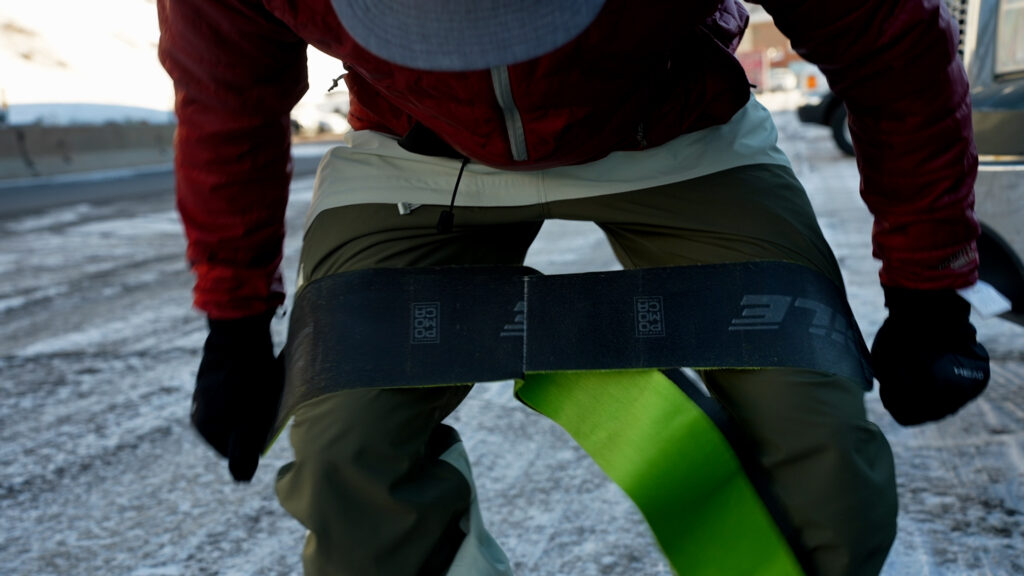
Peeling Sticky Skins Apart
You may find yourself having a hard time separating the skin from itself on those ice-cold mornings. To help get them apart you can grab both ends of the skin, place it in between your thighs, and pull each end into opposite directions while you pry them apart with your legs. See 02:47 in the video to get a good look at how to perform this maneuver.
Removing Snow From The Glue
It’s not uncommon for snow to get on the glue of your skins while touring. Too much of this can lead to your glue becoming wet and losing its ability to stick to your ski. To remedy this you’ll want to remove your skins and jam your ski into the snow so it’s standing straight up and down. Next, grab either end of your skin and run the glue back and forth across your skis edge to remove the snow build-up. See 03:50 in the video above for a good visual.
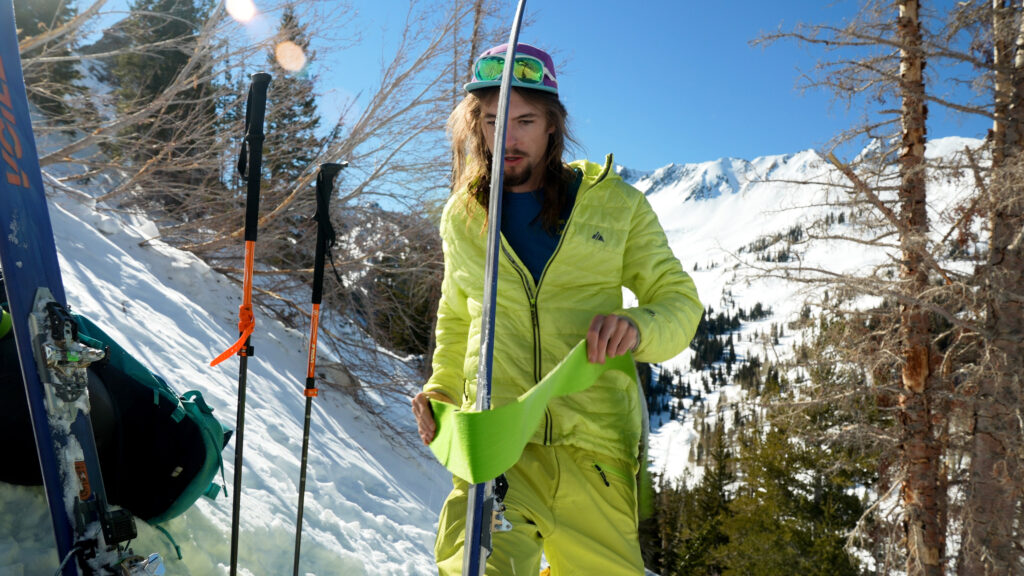
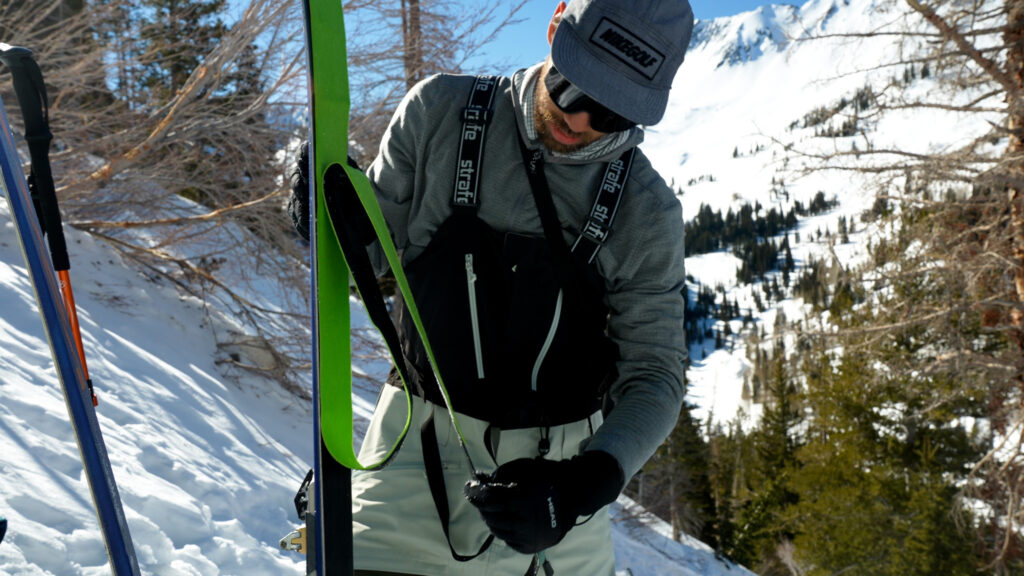
Ripping Skins In The Wind
Attempting to remove your climbing skins in high wind is possibly one of the most frustrating experiences in backcountry skiing and riding. The good news is, there’s a method to help make it slightly more enjoyable! This transition tip requires that you first remove your skis. You’ll then pull your skin halfway off and fold it against itself. From there, you can flip the skin around so the glue side is facing outward. Then, you can fold the top half against itself and stow it for your ride. The point here is to keep as much of the skins as possible either glued to your board or in your hands, thereby minimize the amount of flapping around in the wind. See 07:20 in the video for a visual representation.
There you have it!
Thanks for tuning in. If you have further questions you can always reach out via social media or contact our customer service team. Swing by our retail store if you find that your skins need servicing and you’d like someone else to take care of them.
Share this Post